

How To Make Animal Hooded Bath Towels

My kids have had some favorite animal-themed hooded bathroom towels for years that were looking their age, so I decided it was time for new ones. Instead of going with the cheap versions at the local store, I decided to customize a set for my two youngest that amend fit their personalities. Information technology'south just another one of those ways to find a happy medium between their tastes and mine while also adding another special handmade touch at home. Plus, these ambrosial hooded towels are So soft and cozy. Perfect for drying off after bath fourth dimension or even taking to the pool. You'll be surprised how easy these are to stitch together!
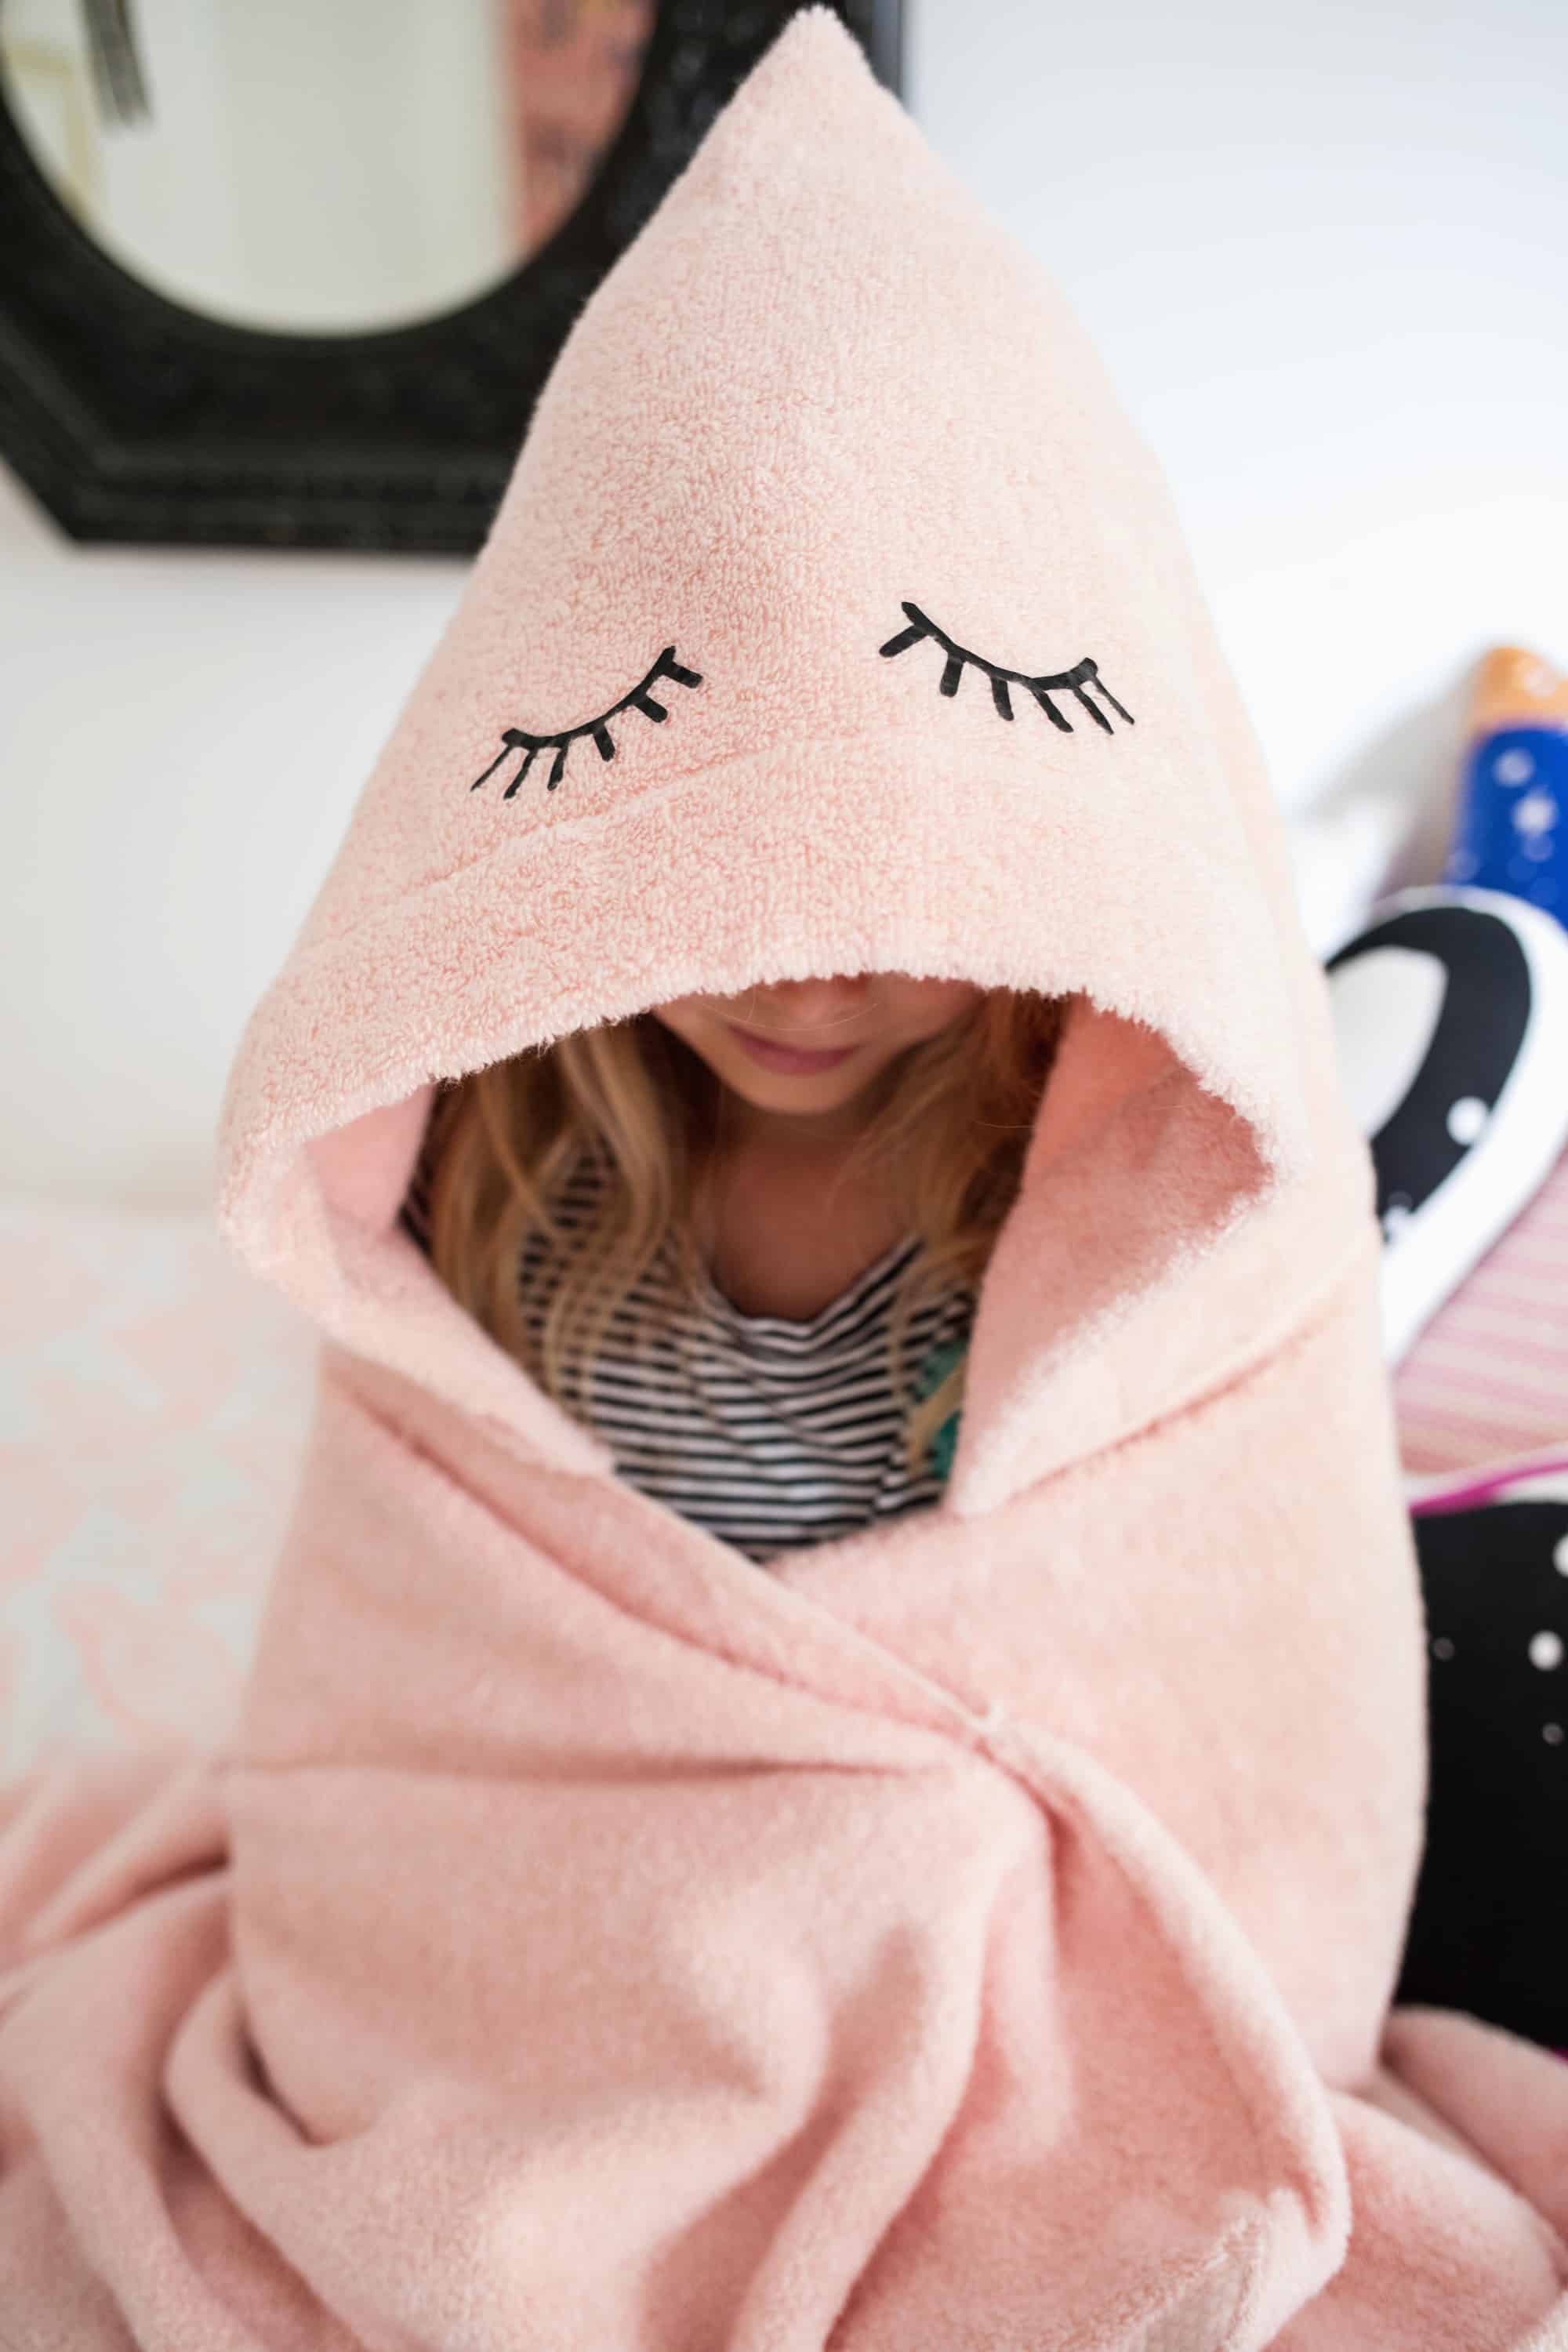
With patches being on-tendency again, it's easier than ever to customize a hooded towel but don't discount fe-ons! I constitute some adorable eyelash transfers from an Etsy shop and then picked the blastoff up at my local craft store. They've both been through the wash twice since I made them and are belongings up really well, but I did paw-sew my alpha to the towel for extra support. This is a peachy projection for beginning sewers, so you could fifty-fifty enlist the help of your child to brand it one of those teaching moments. Y'all know, depending on your patience level. Ha!
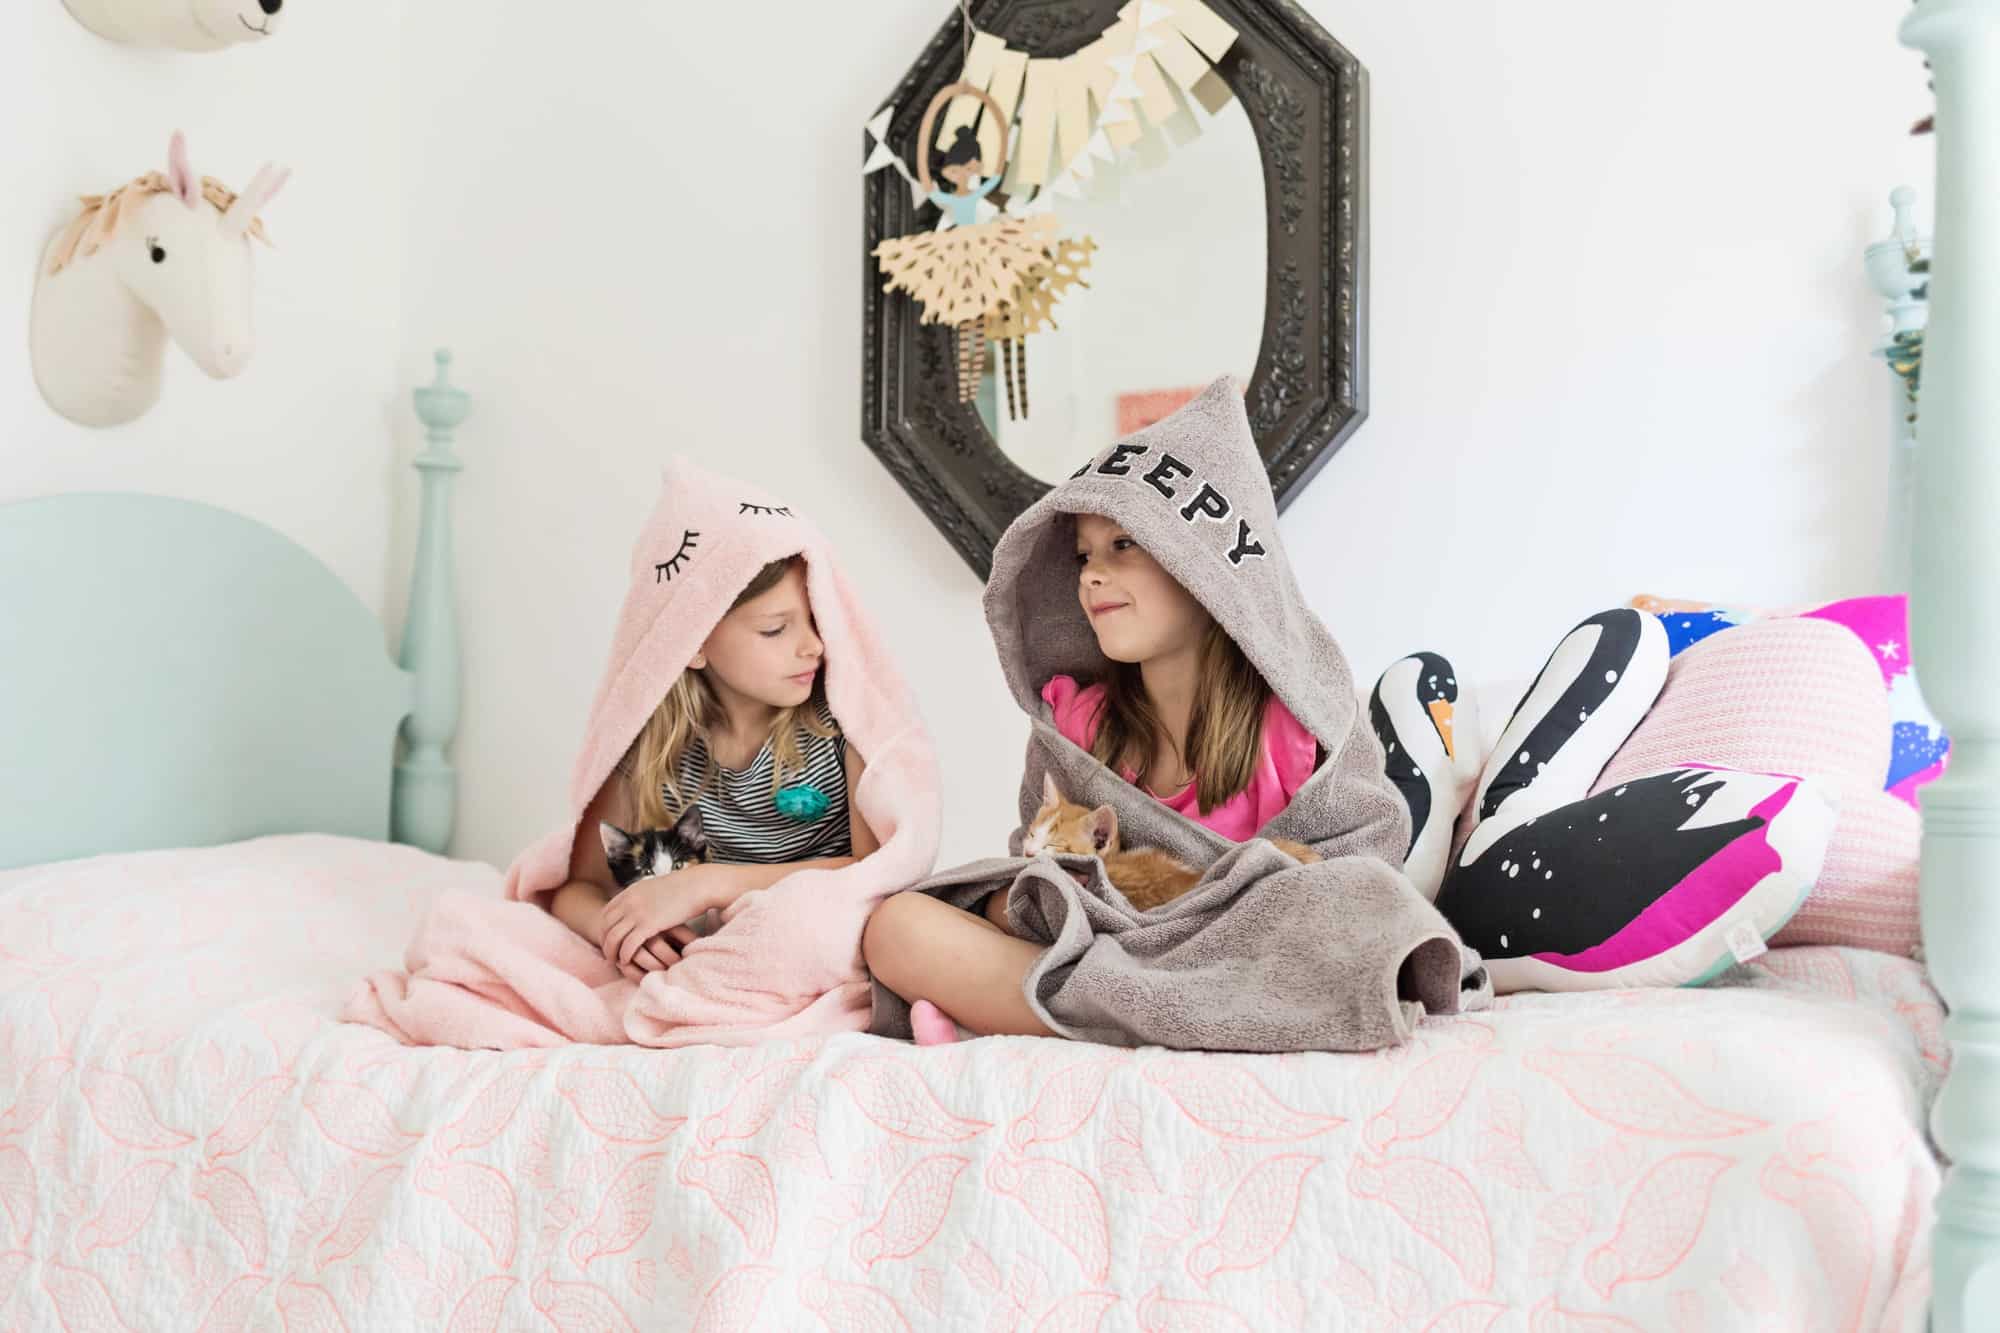 It seems all of our friends are either having babies or have new kittens at their house! I can't tell who is more than cozy, the girls or the kitties! Night night, Steve!
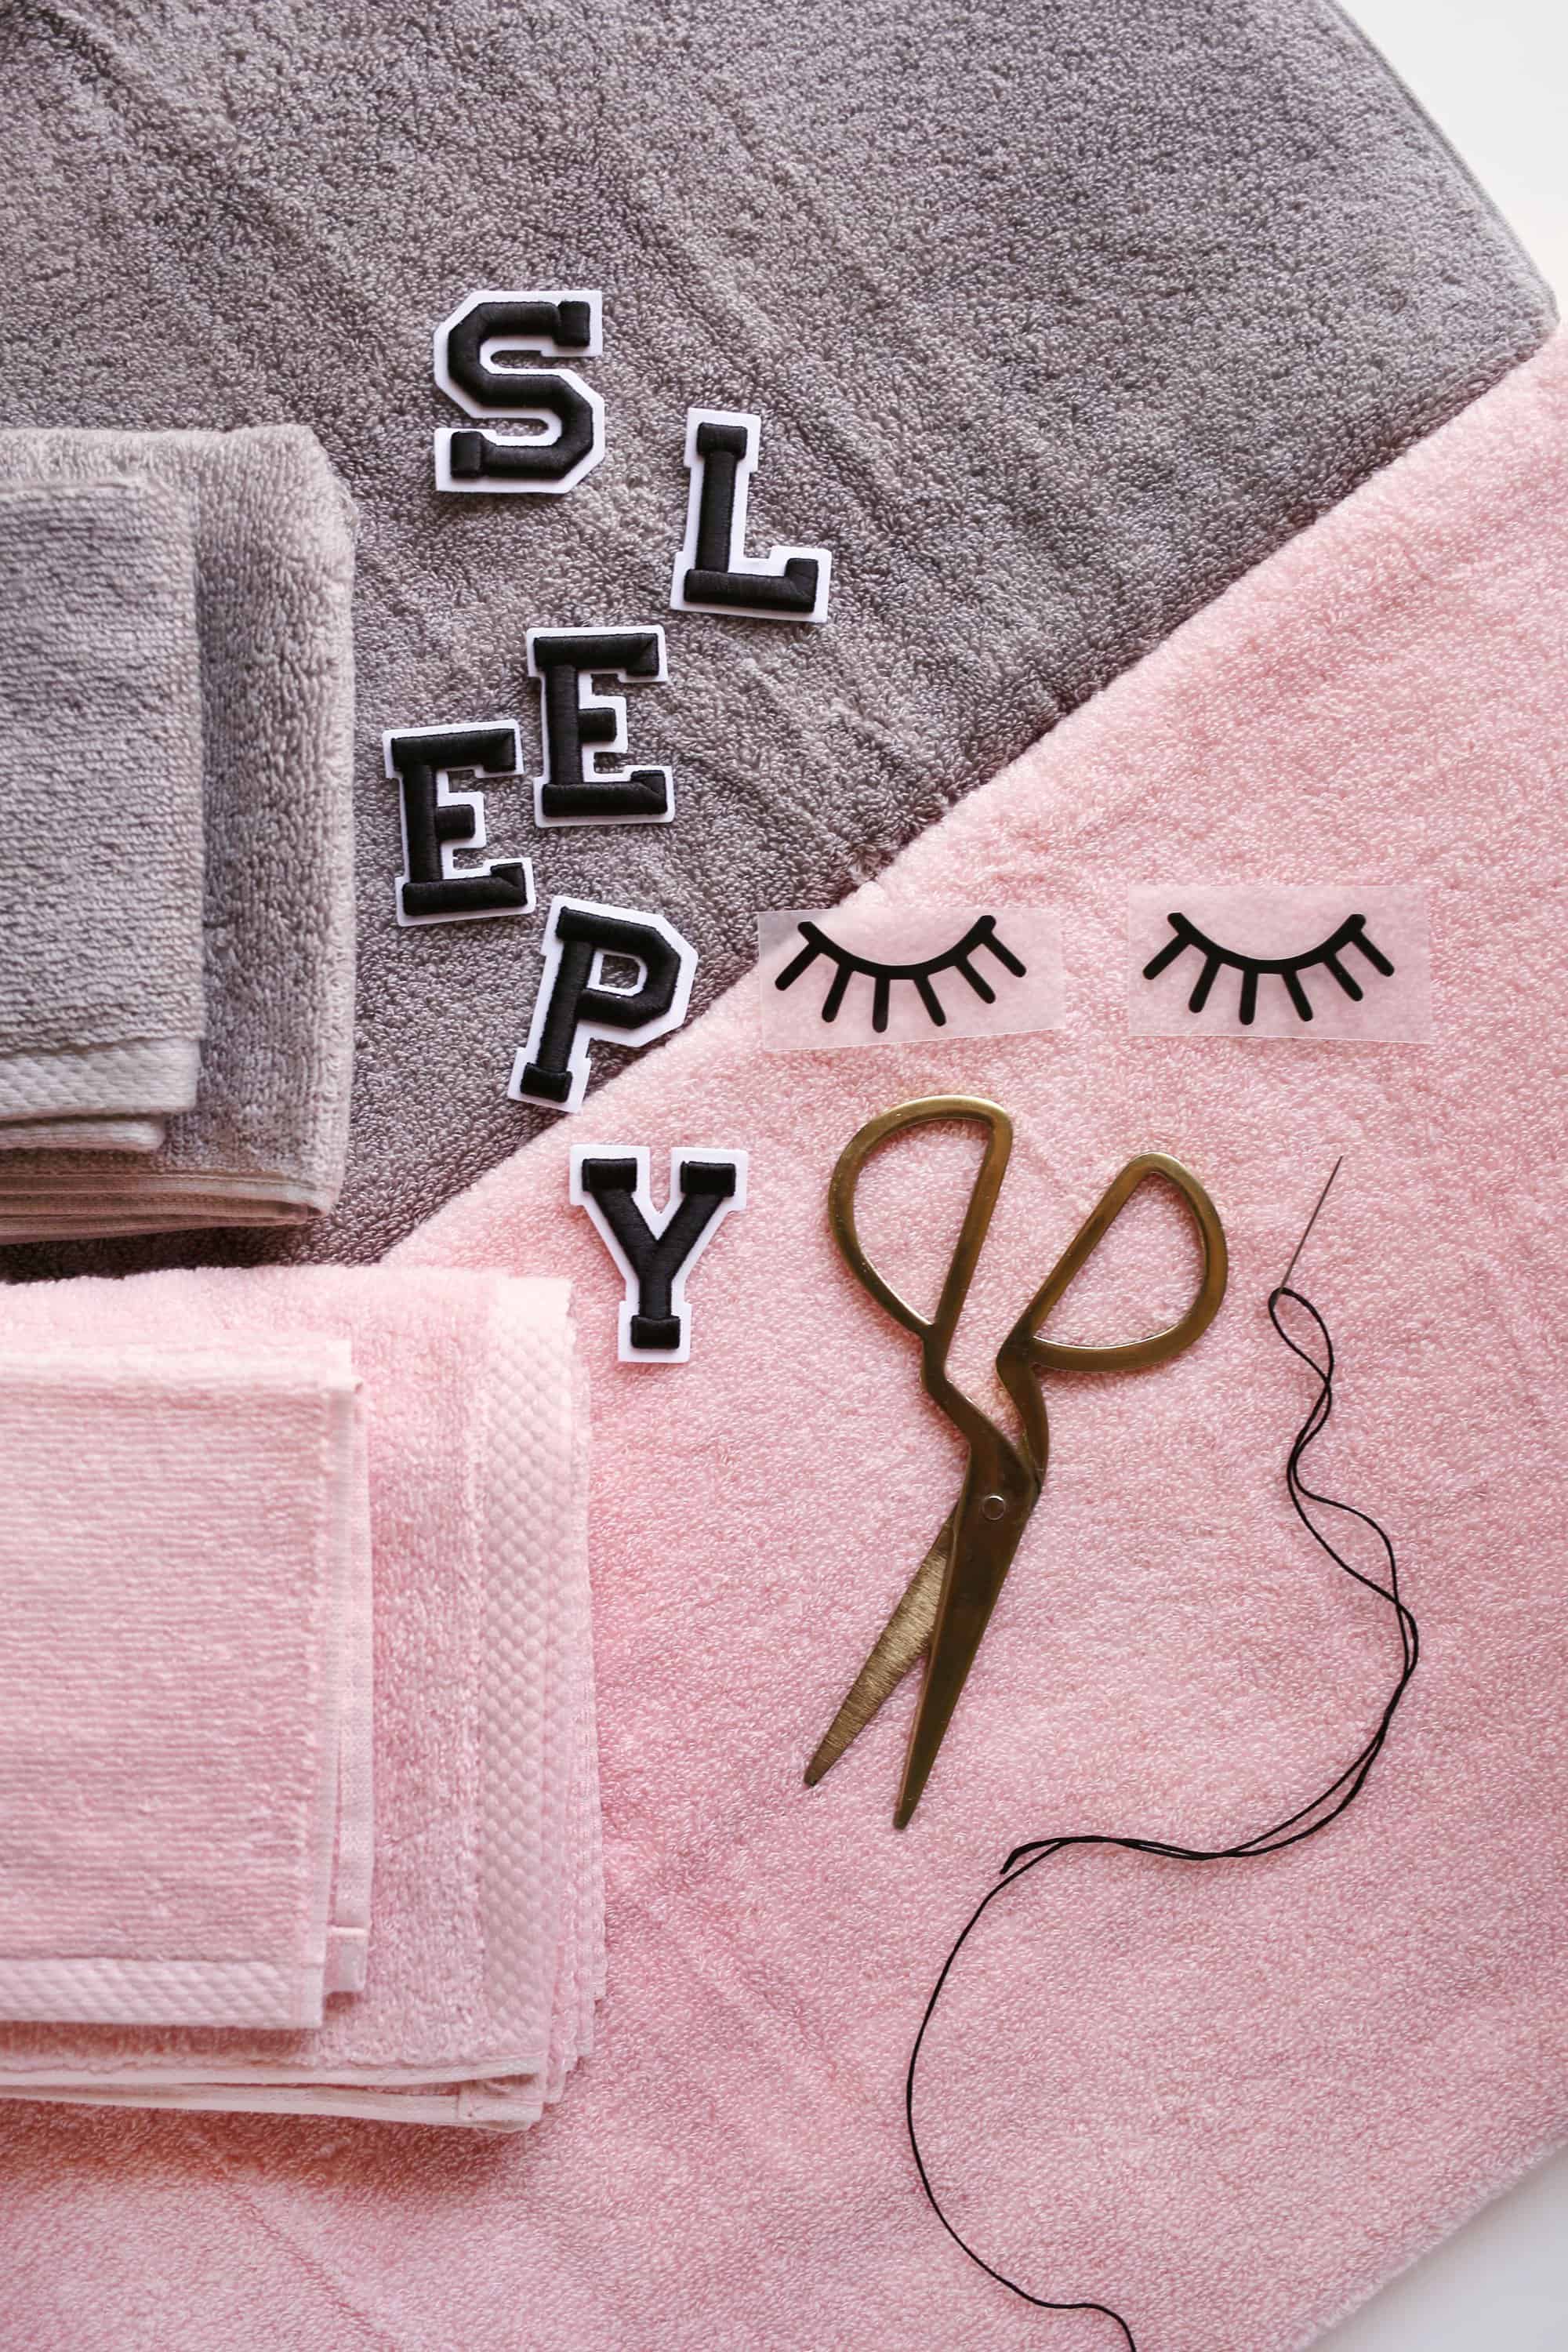 Supplies:
–one standard bath towel
–one standard mitt towel
–one standard wash cloth
–iron on eyelashes (ii.5″)
–fe on alpha
-fe
-cotton cloth for protecting patches when ironing
-sewing automobile and thread
-direct pins
-scissors
–embroidery thread to match blastoff patches
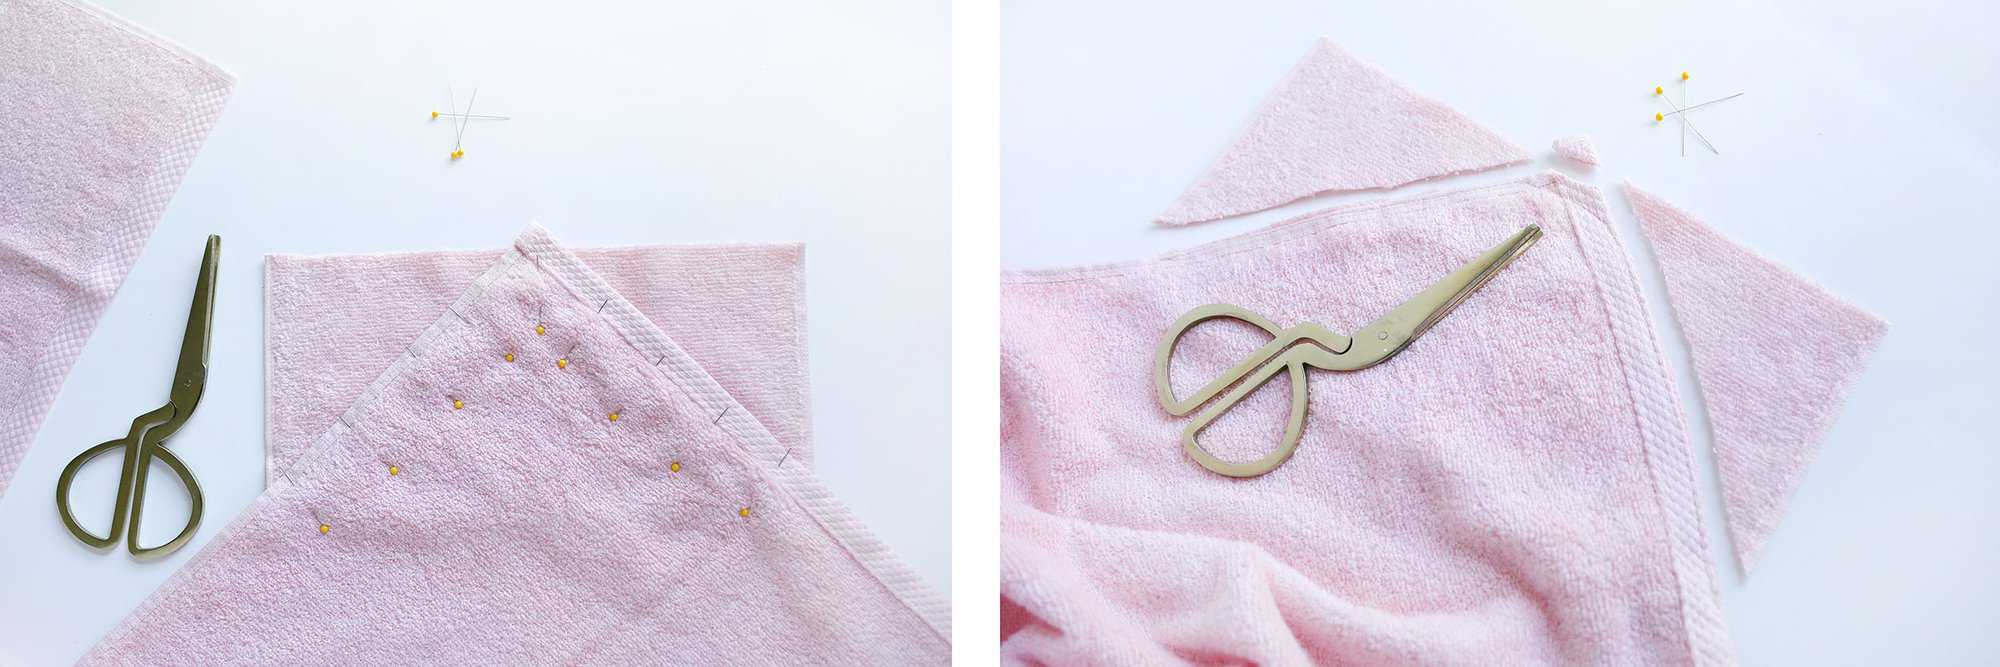
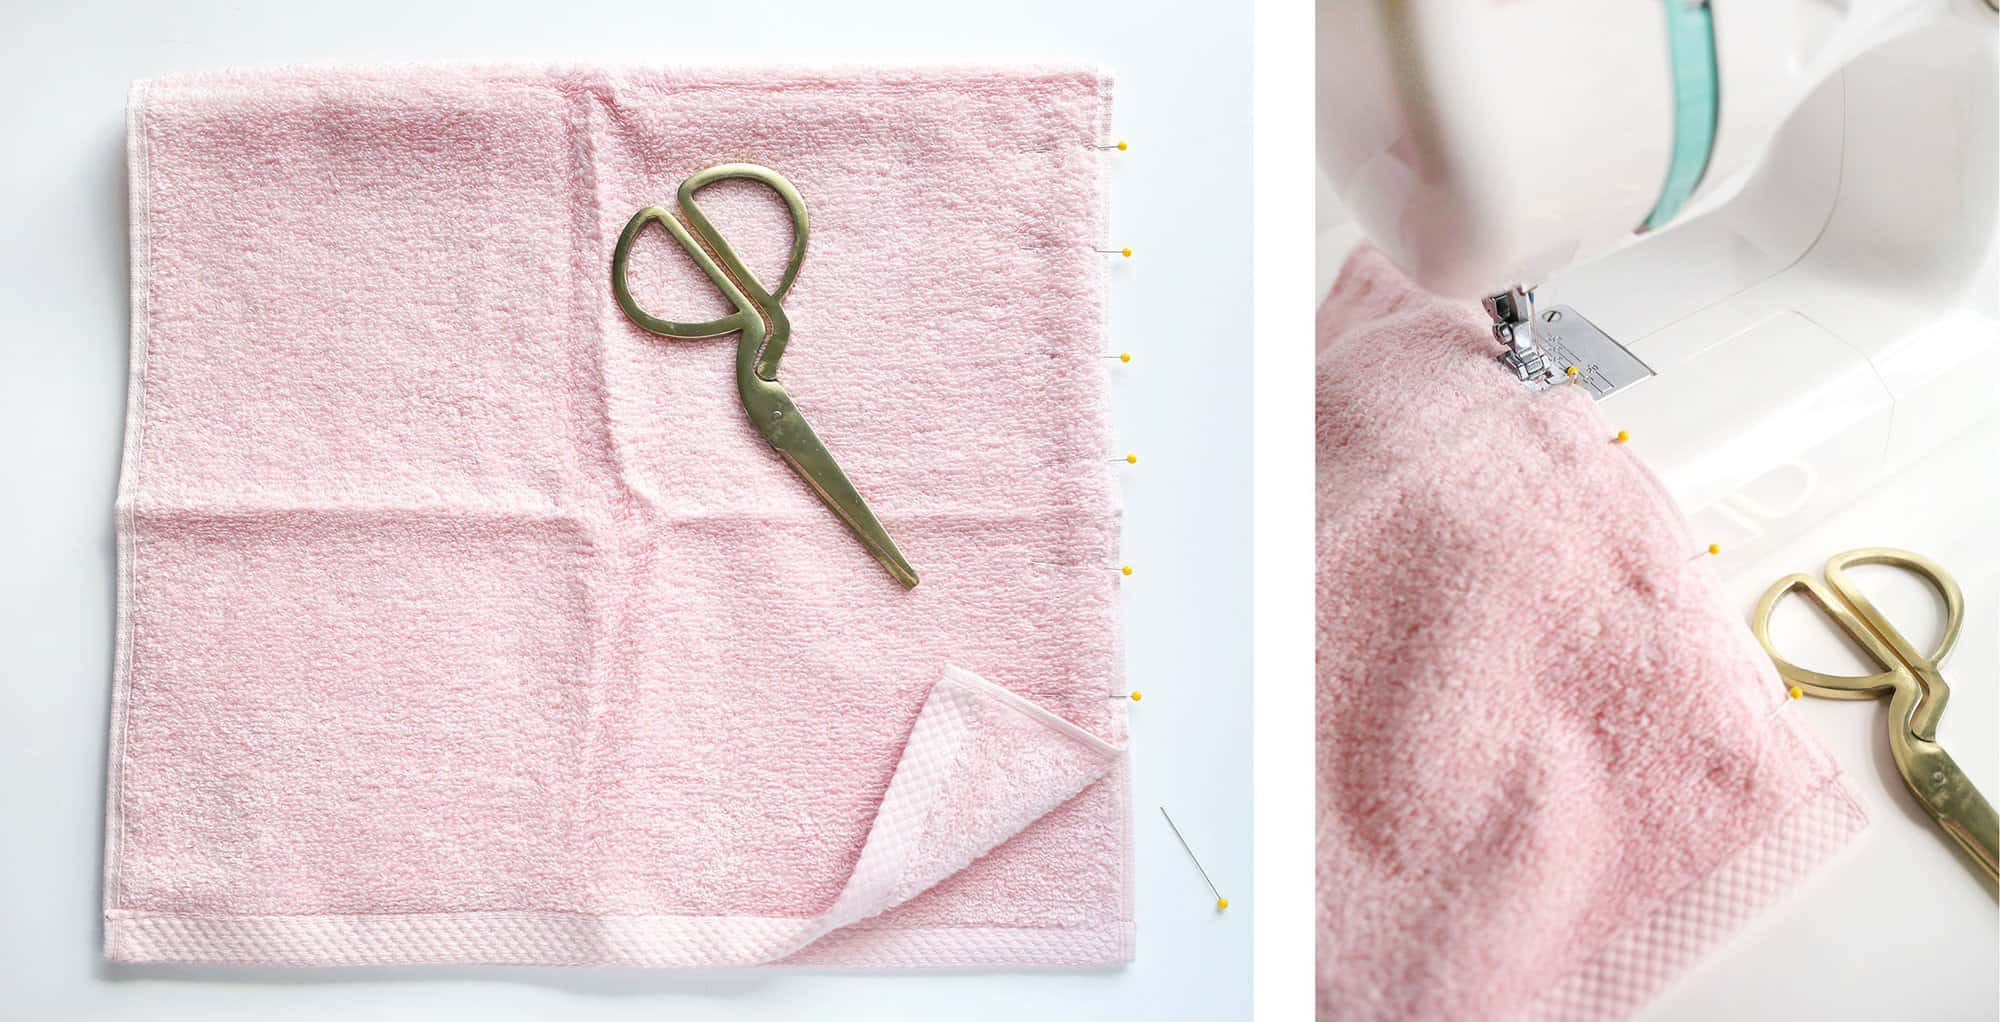 Fold your manus towel in one-half to brand a foursquare shape. Make sure 1 of the long sides are even and pin them together. These towels volition fit children ages 3-9 depending on their size. If you lot're making it for a three-5 year old, you may desire to trim off about 2″ from the long side before pinning together for a more shallow hood.
Stitch your two long sides together where y'all pinned them. Brand sure to back stitch where y'all first and end and sew about one/4″ in from the border. Remove your pins. If y'all've cut the edge, you may want to as well add a zig-zag sew together near the edge to help it non fray in the wash.
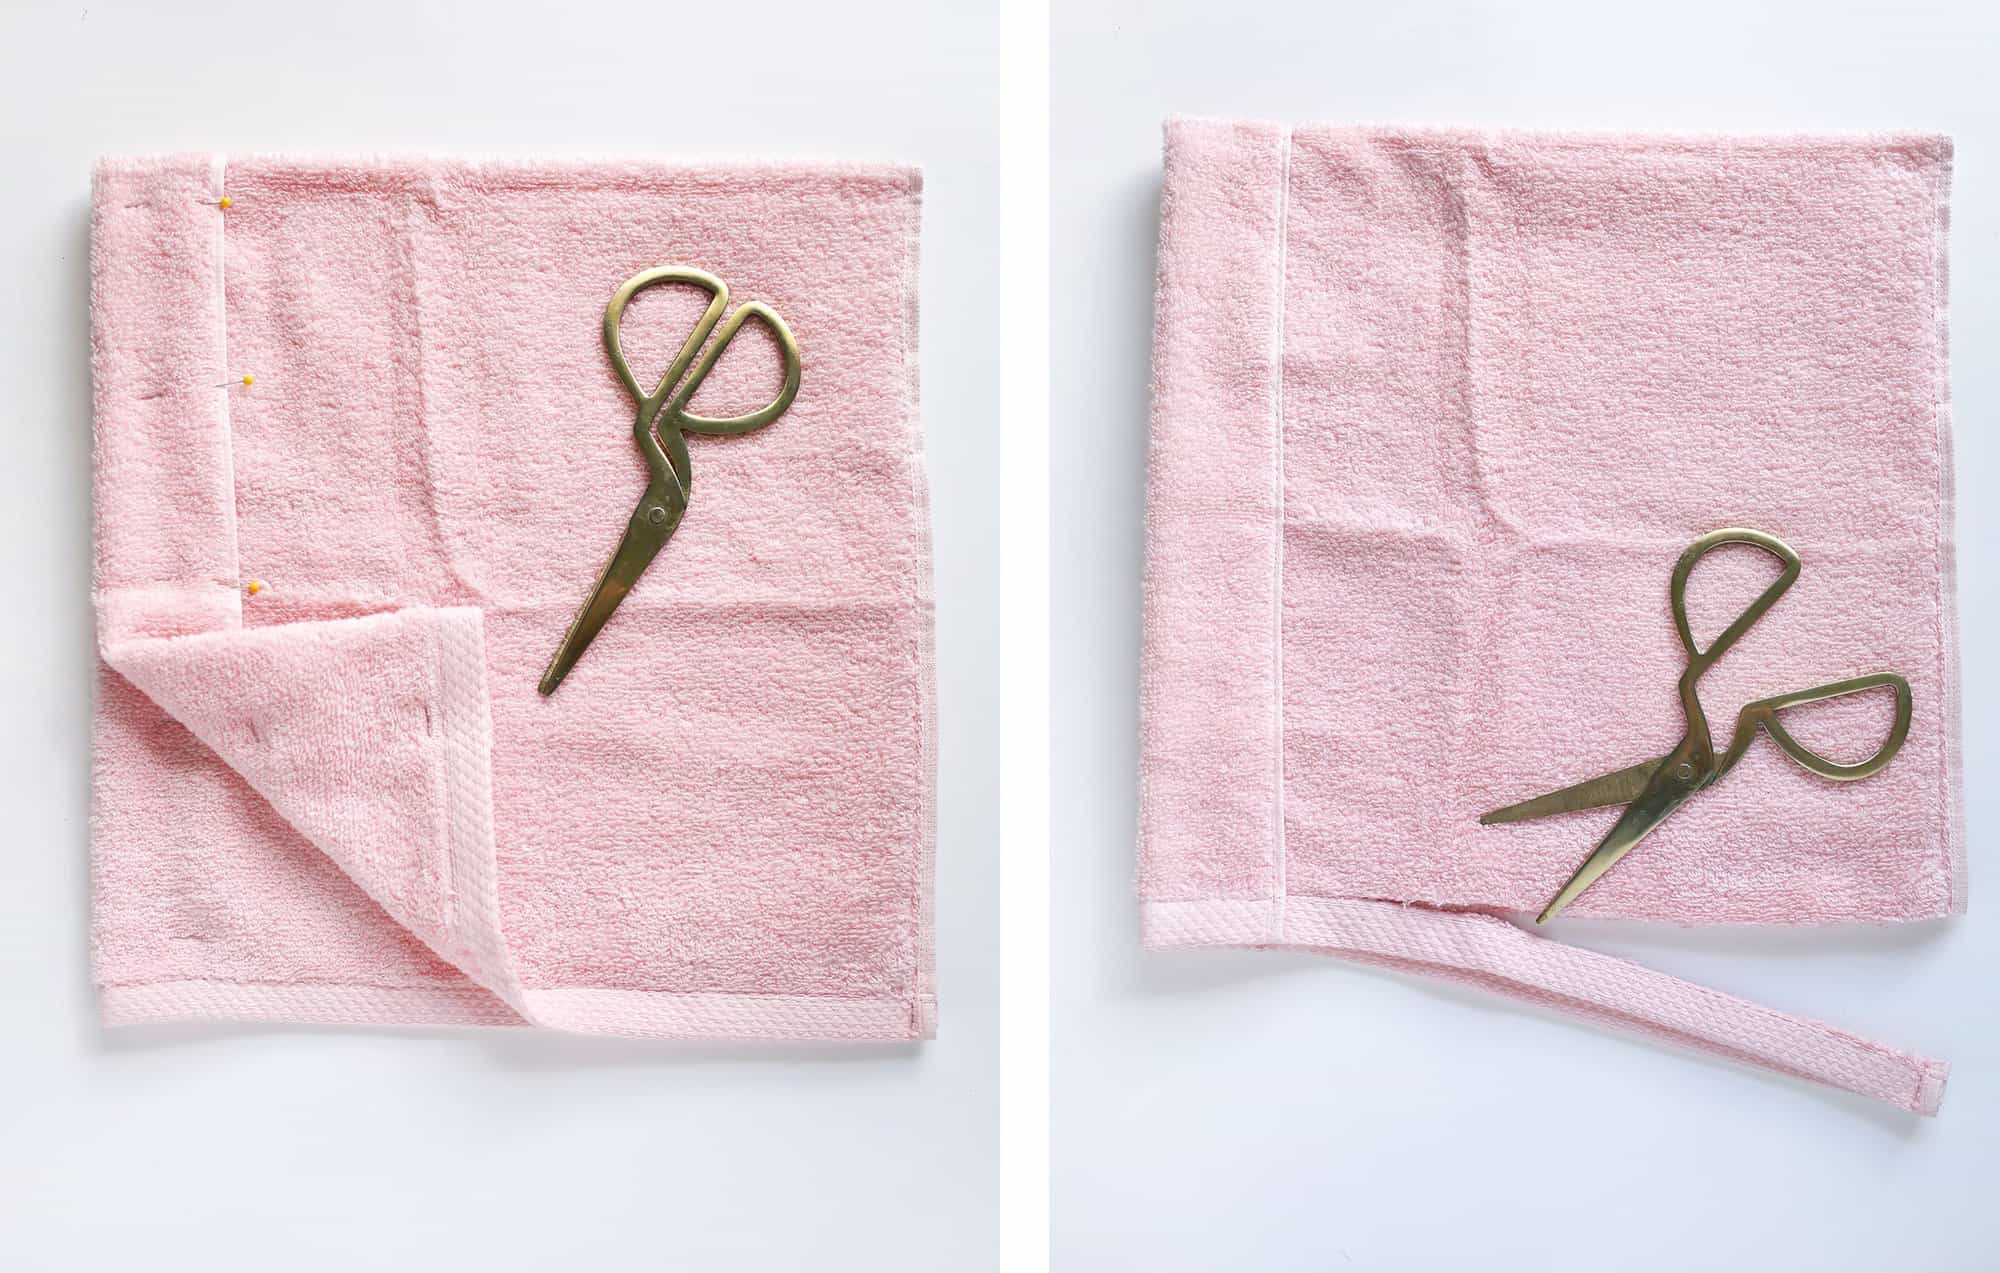 On the other side of your towel, fold the edge back nearly ii″ and pivot down. This will create a softer edge to the front of the hood. Open your towel up and stitch along the line where the finished seam is folded in. Remove your pins.
Trim off the large seams on the short ends of your towel.
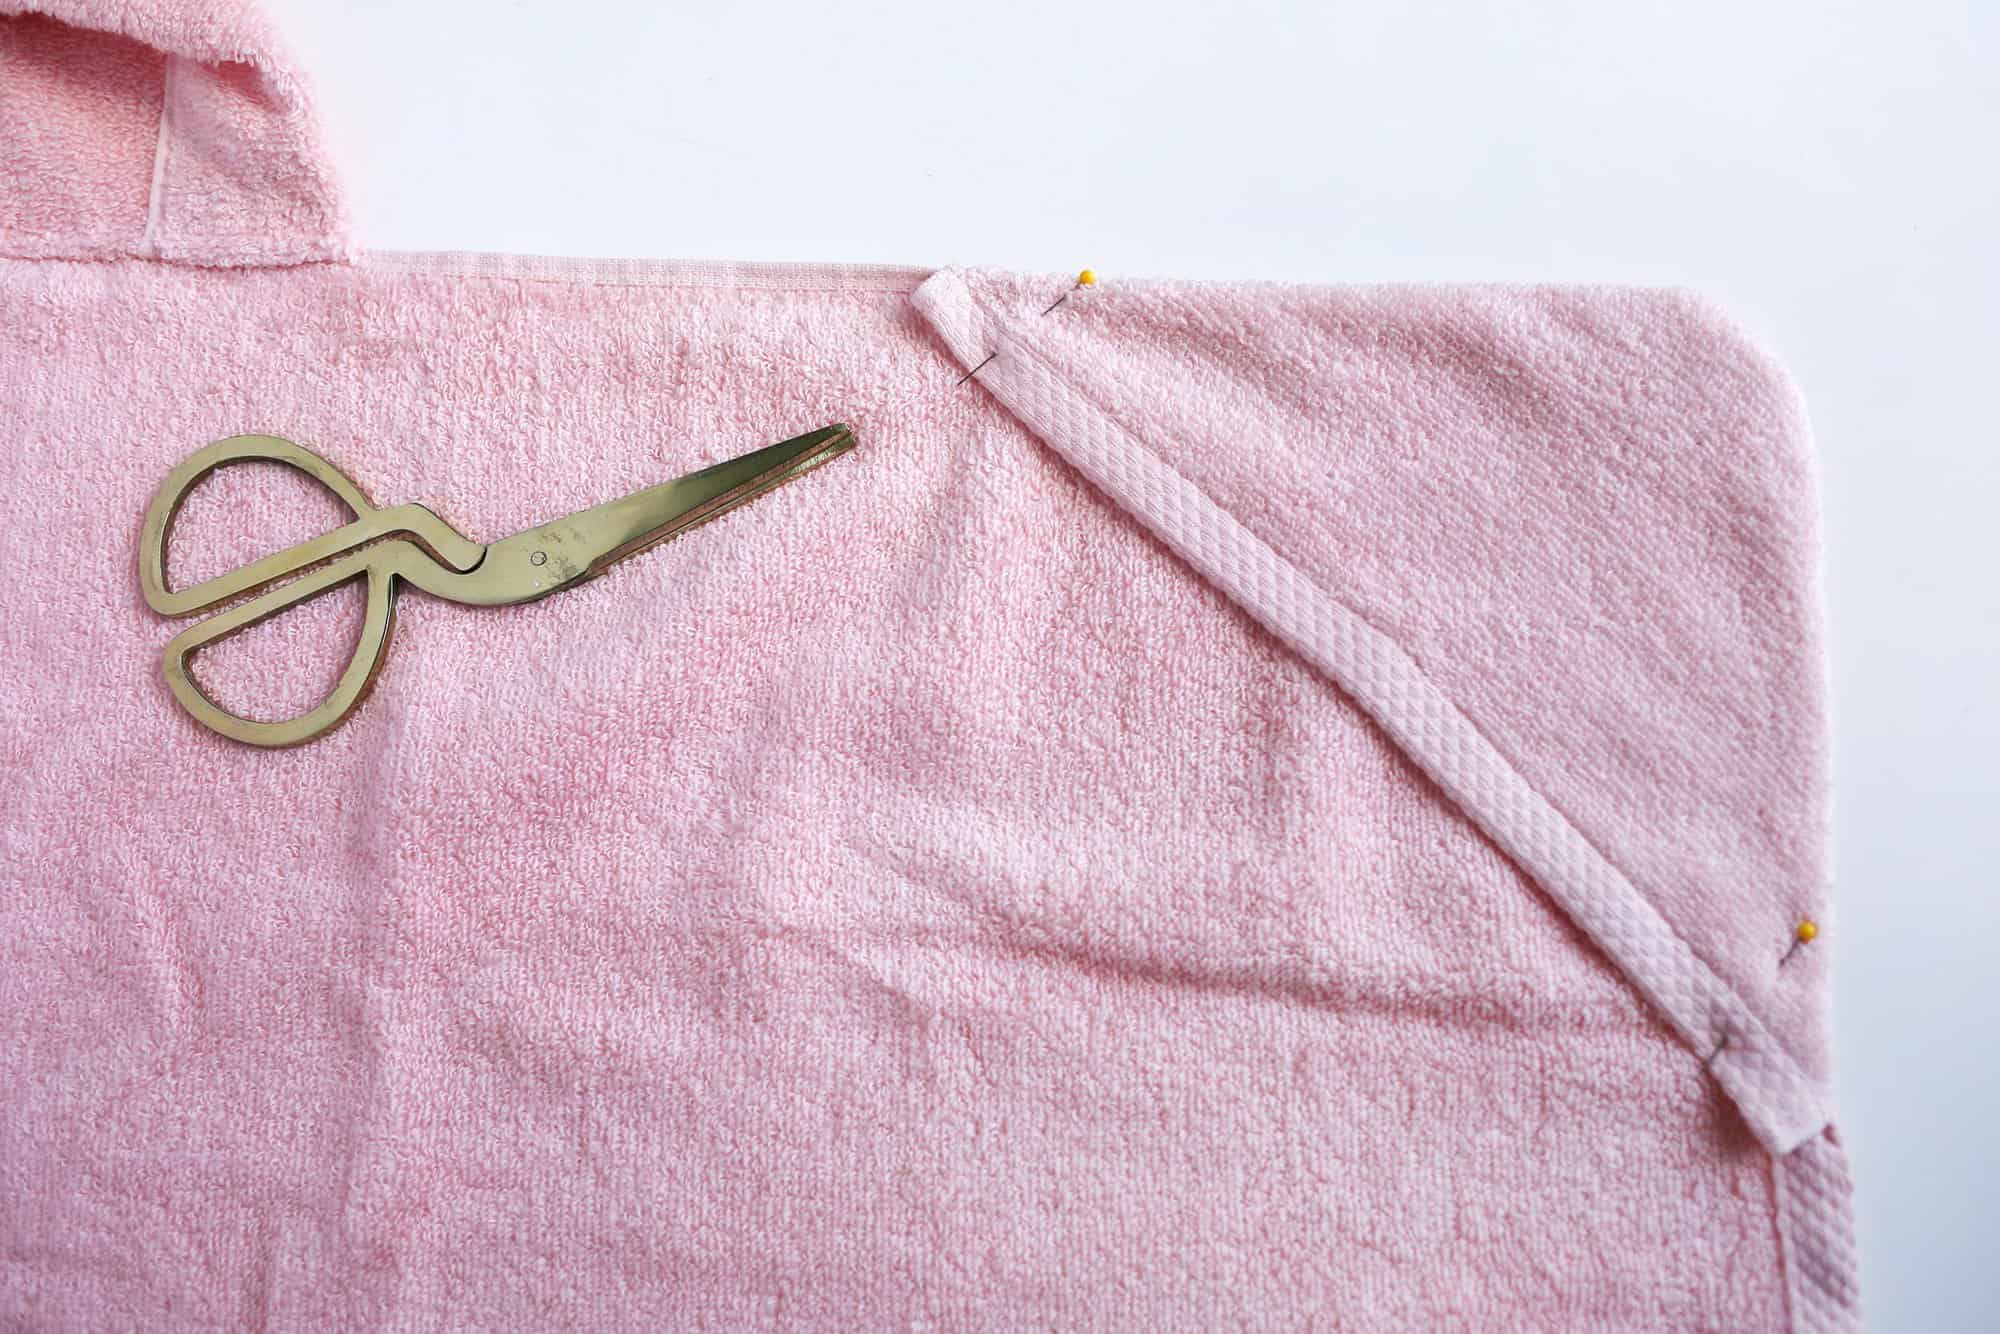
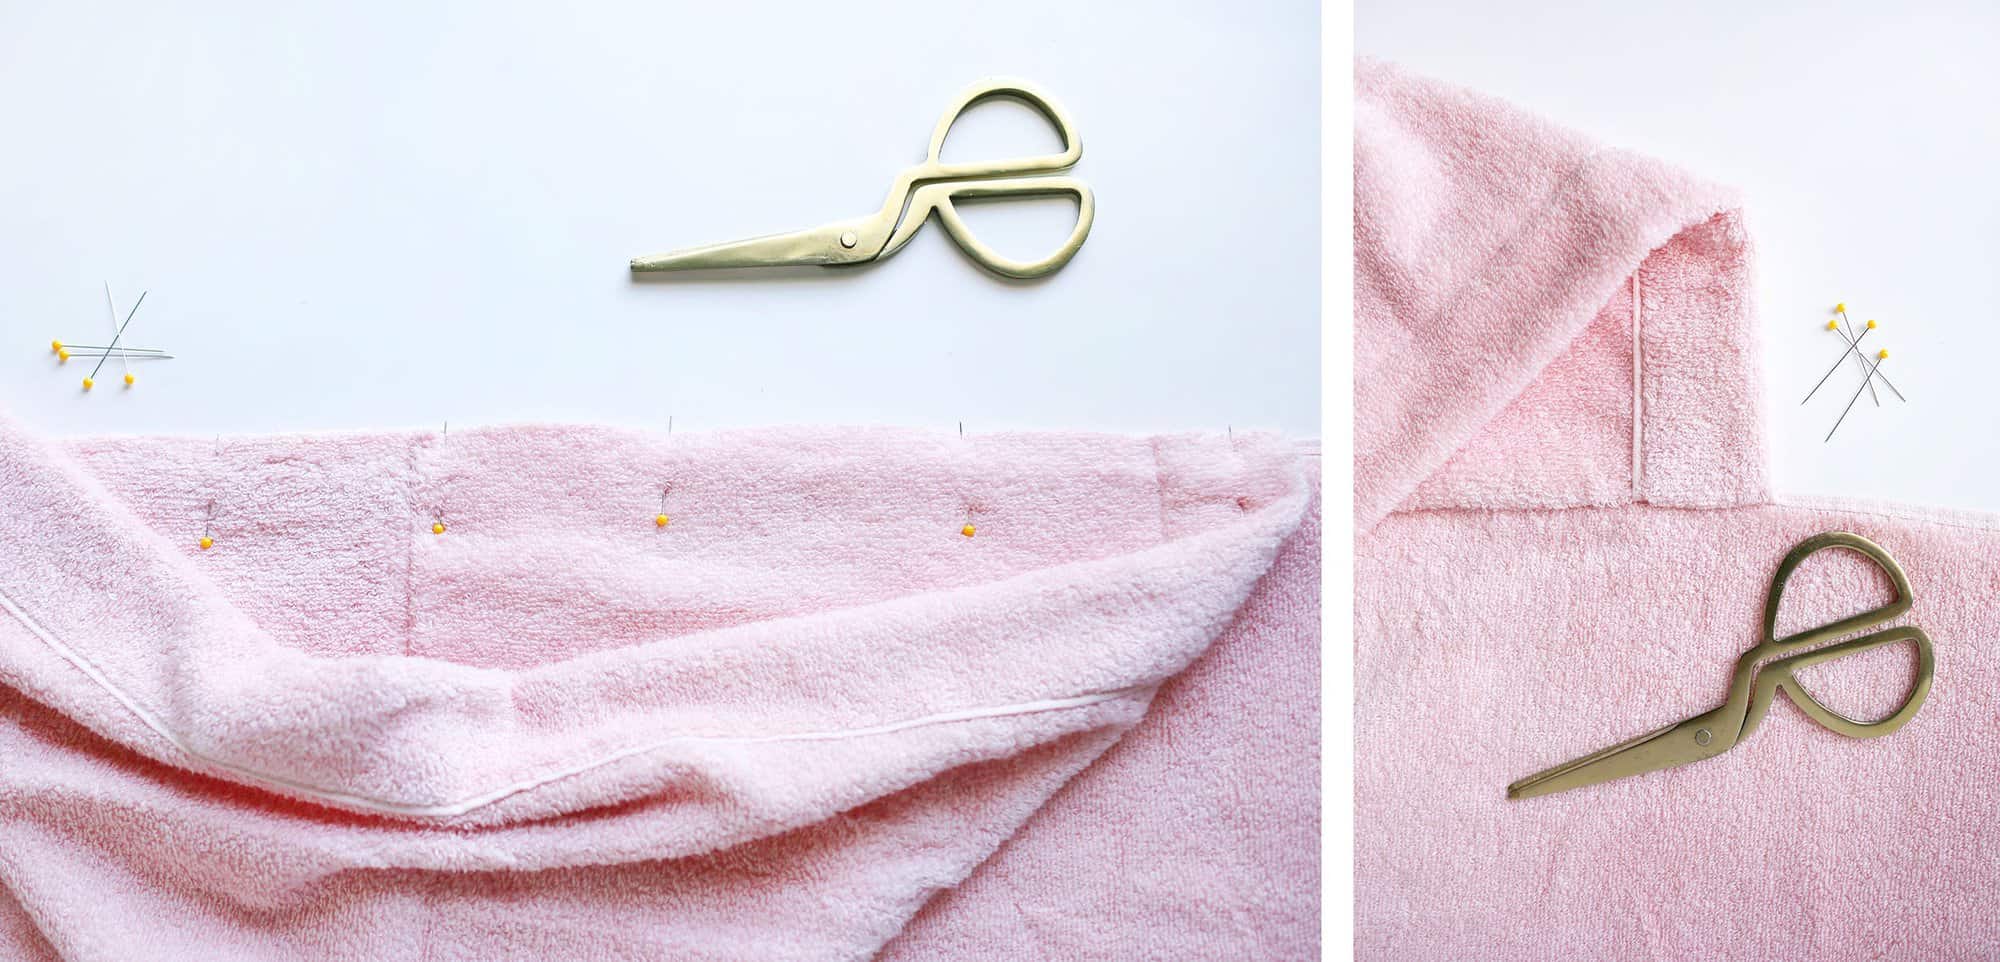 Open upwards your hand towel (the hood) so that the edges you but cut are lined up and centered on the heart of the long edge of your large bath towel. You want the wrong side of your hood (the side with the seams showing) to exist facing the large bath towel. Pin things down and sew from one side of the hood to the other, making sure you stitch well-nigh i/ii″ from the edge. Back stitch at the get-go and finish.
Remove your pins and fold your hood up. Turn your hood correct side out so that the first seam yous stitched is inside your hood.
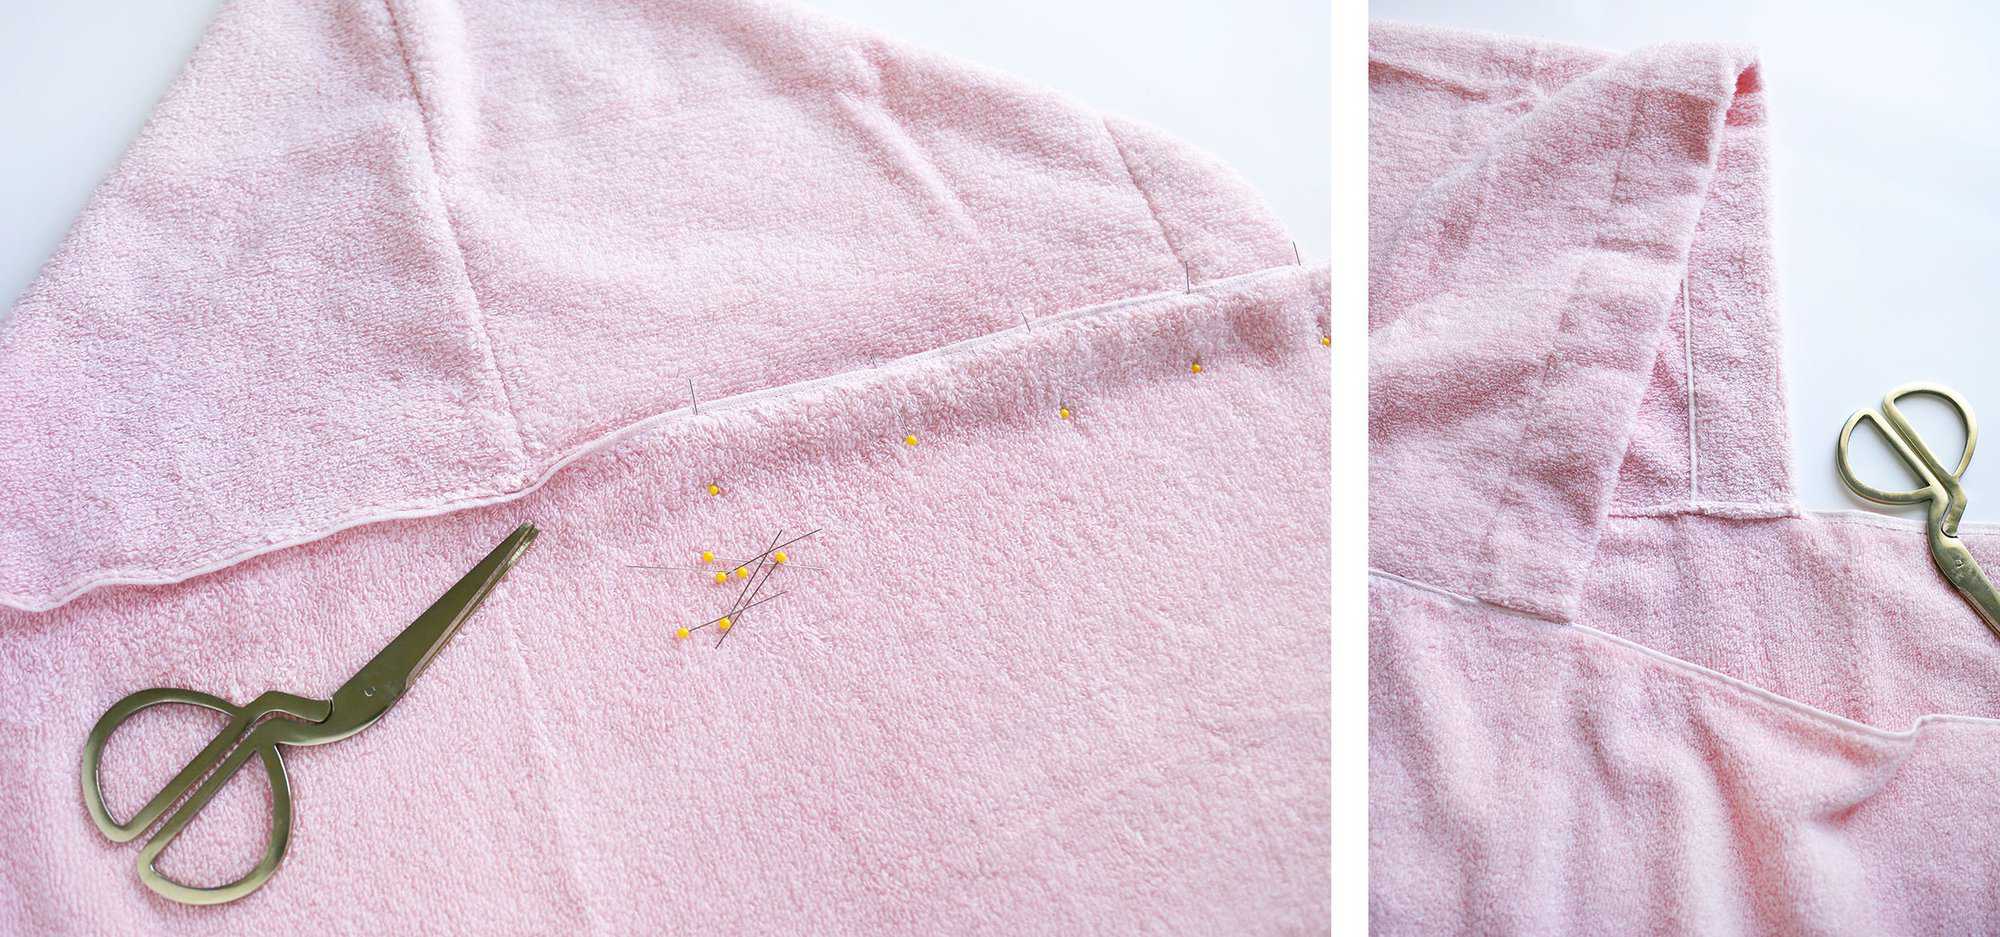 Flip the whole thing over and then that the hood is still higher up the body of the towel. You'll meet the new seam that you merely stitched. Push it upwardly towards the hood and pivot it down so that it's flat against the hood. Atomic number 26 if you need to.
Sew again from one edge of your hood to the other, making sure to stitch along the finished border of the body of the towel. This will hibernate the frayed edge of your hood and not leave a big folded seam. Remove your pins and trim your thread ends.
 Next nosotros'll make the hand pockets. Cut your wash fabric in half. With your hooded towel open and the within of the bath towel facing you, pin 1 half of the launder cloth to the back side of 1 of the superlative corners as shown. Y'all'll be flipping this right side out in a later on step to create the hand pocket. You lot desire to utilize the finished border of your wash material every bit the border of your pocket.
Stitch along the two edges with a slight bend at the corner. Back stitch at the start and stop. Remove your pins and trim off the excess fabric and the corner.
 Flip that pocket to the front and push out the rounded corner. Pin downwardly the two edges of the finished role of the wash cloth and just stitch nigh 1/2″ worth in each corner to secure things. Remove pins.
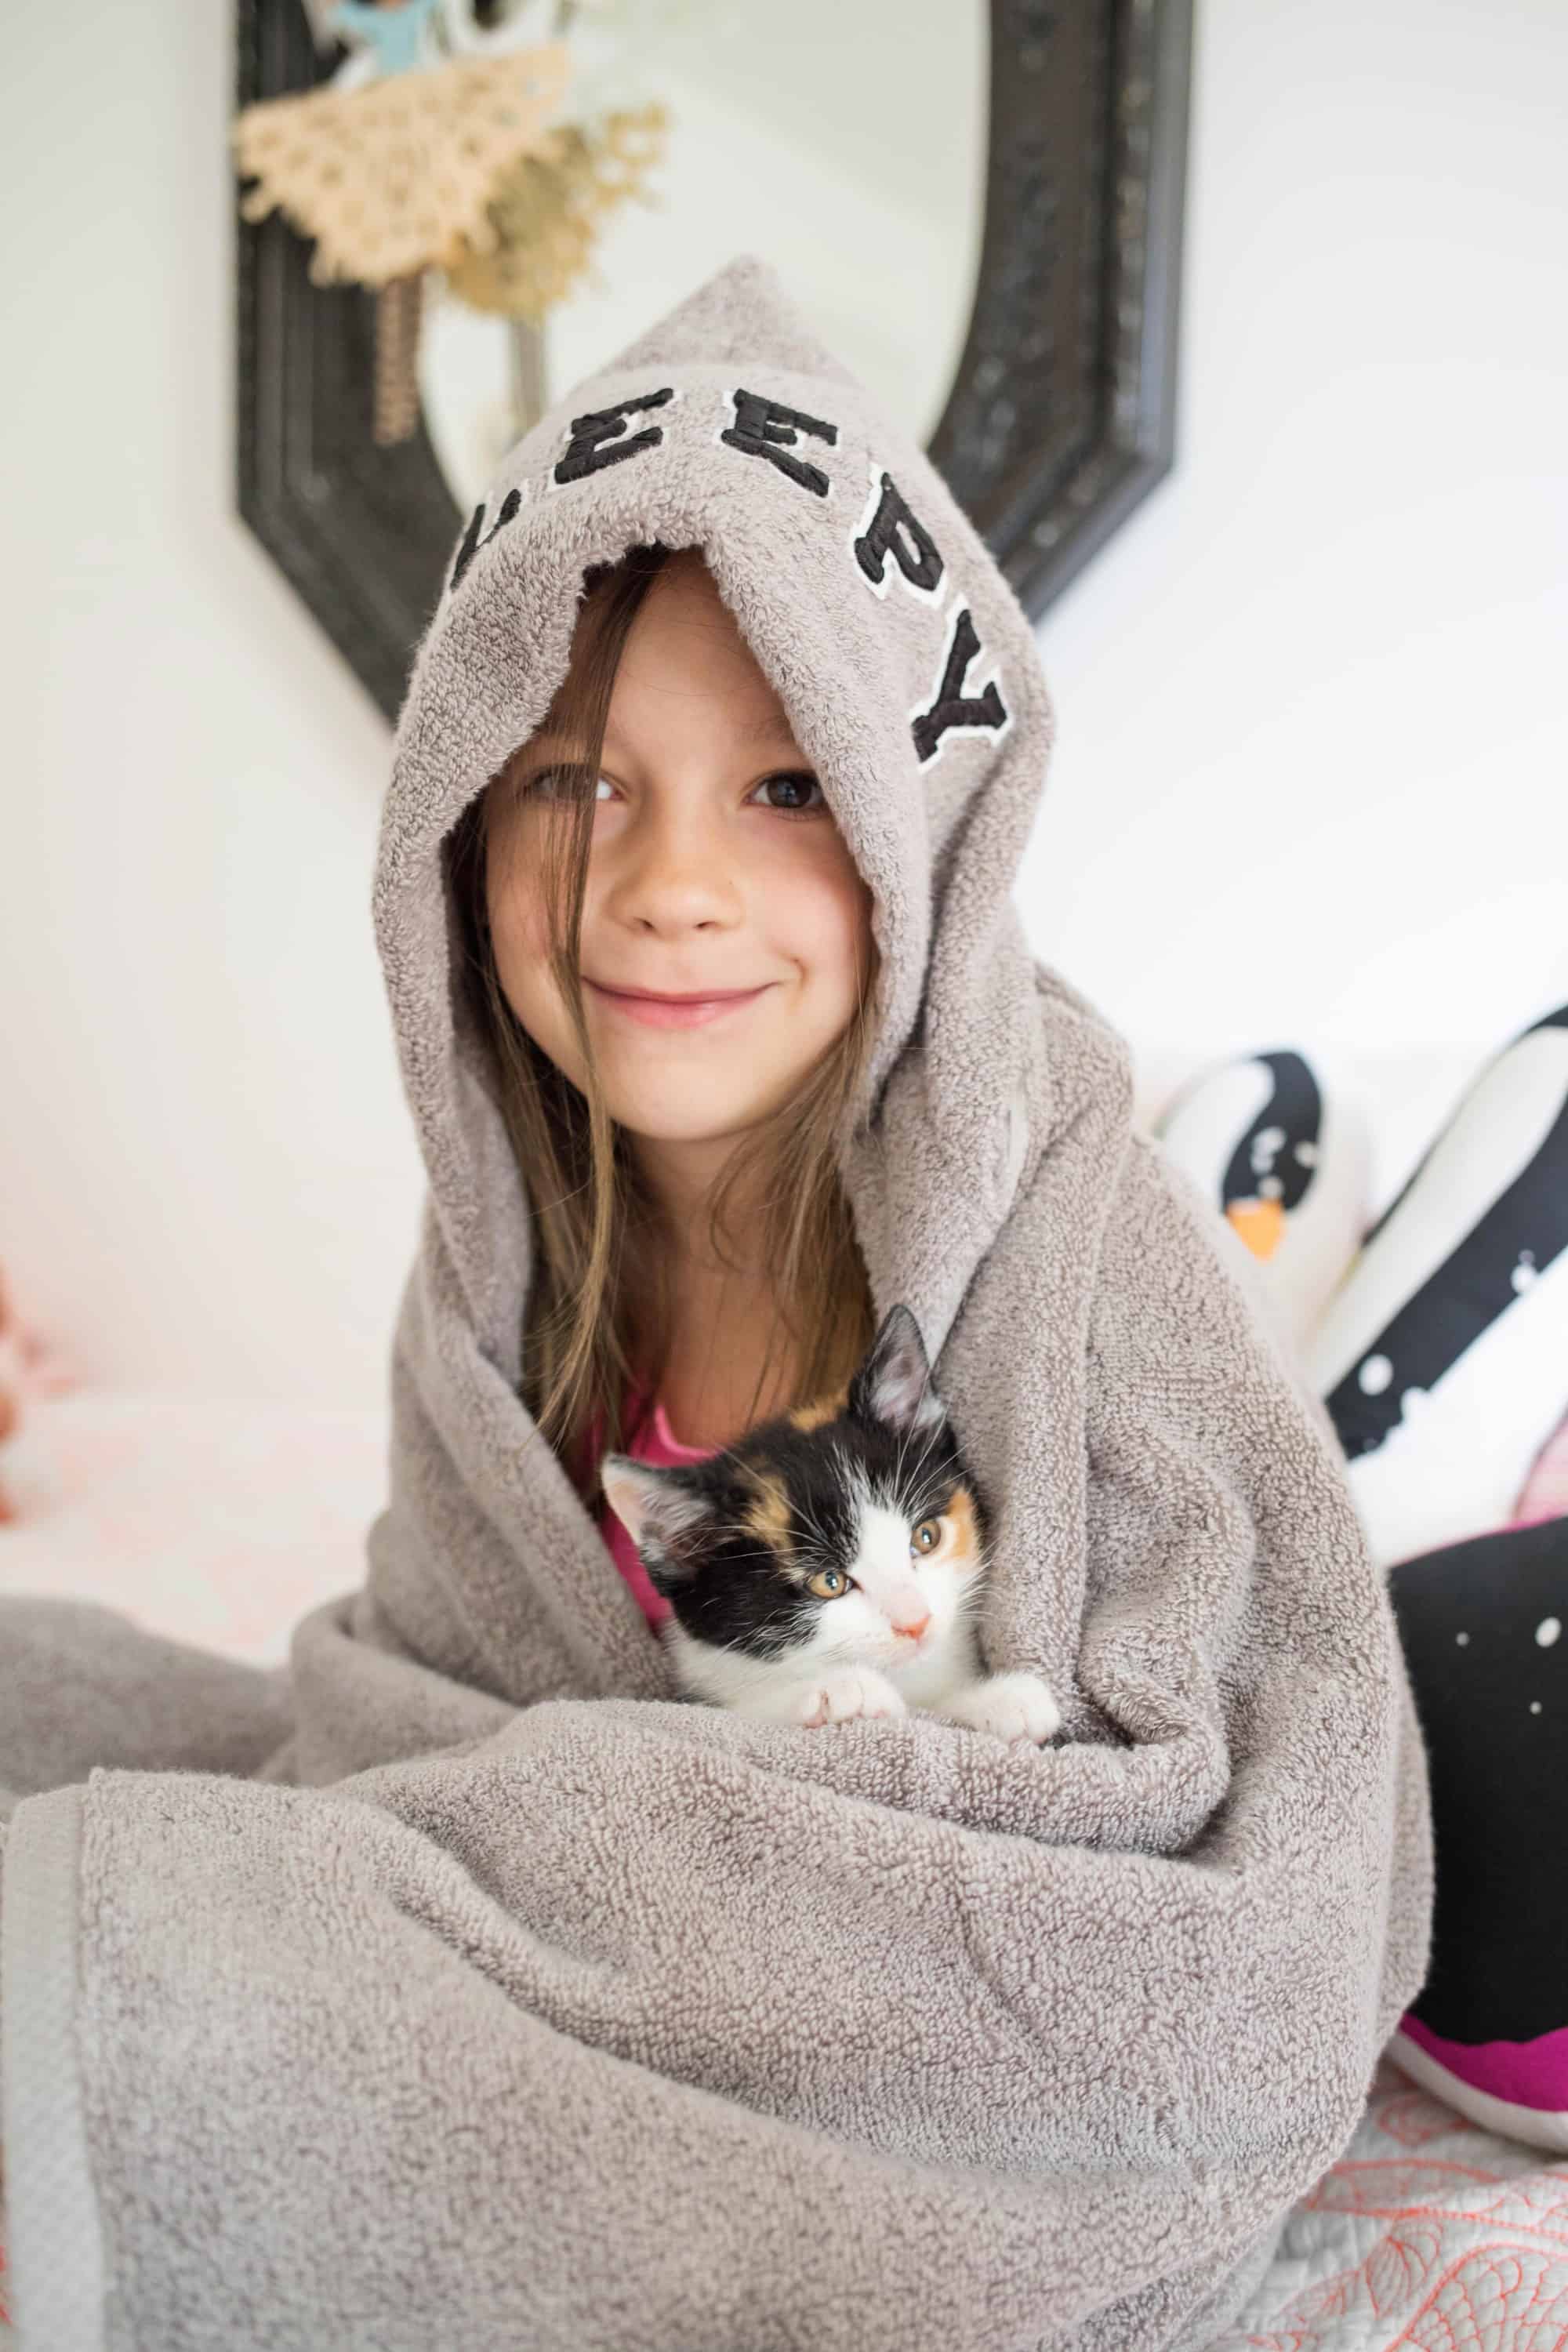
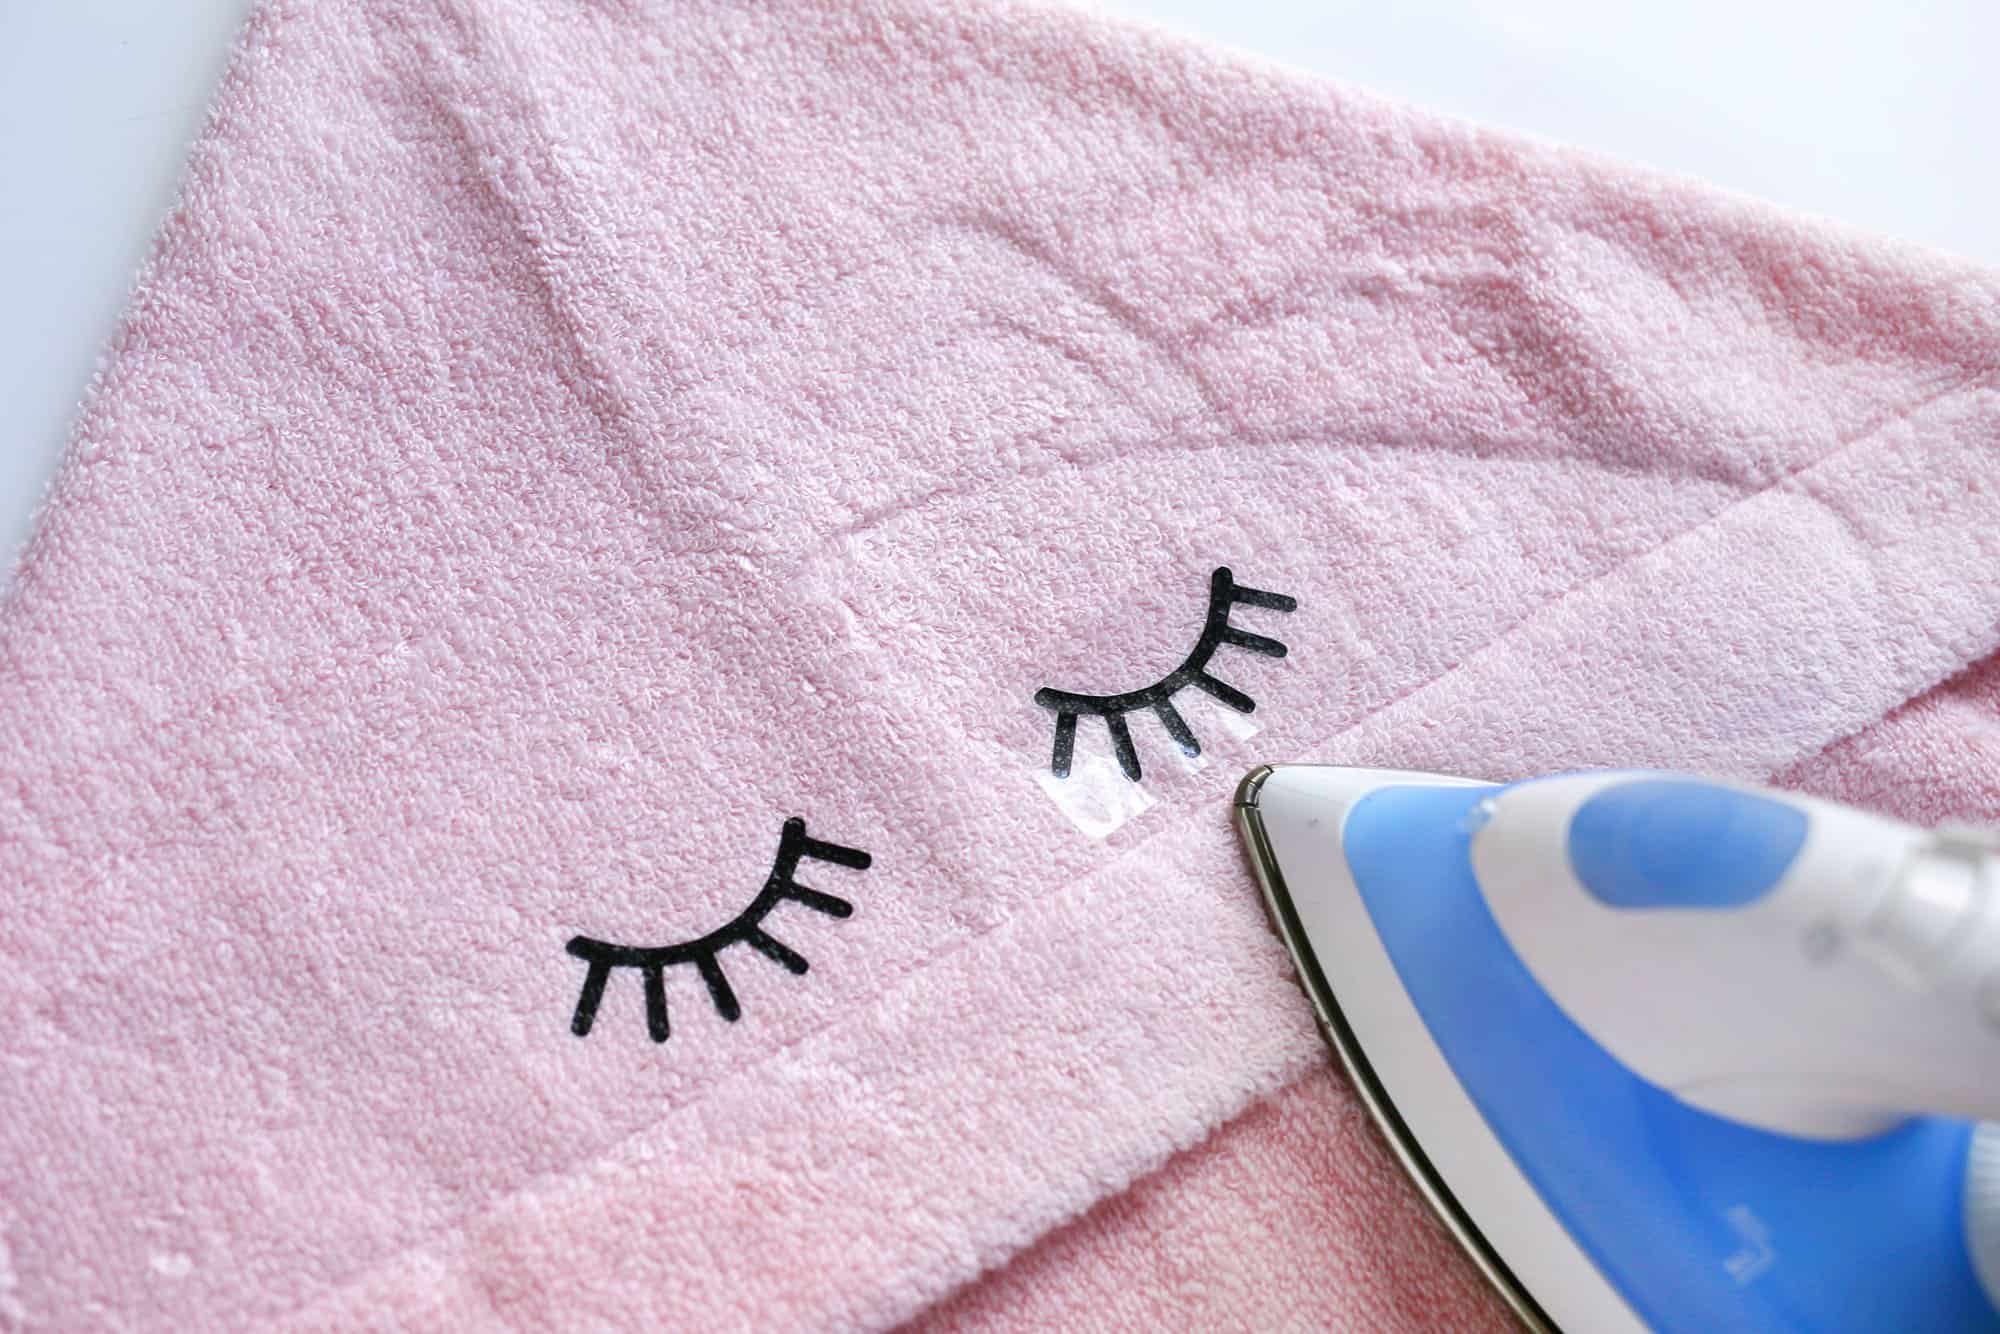 Place your fe-on patches or letters so that they're centered on the hood and follow manufacturer's directions for ironing on. You may want to place a fabric betwixt some patches. My eyelashes didn't demand stitching reinforcement, only the blastoff letters did. I just added black embroidery thread to a 3″ embroidery needle and stitched from the inside of the hood so that I stitched through the blackness part of my patches. I added nearly half dozen-8 stitches per letter and knotted it on the inside to make it as inconspicuous as possible. You could likewise attempt using your sewing machine to sew together through them.
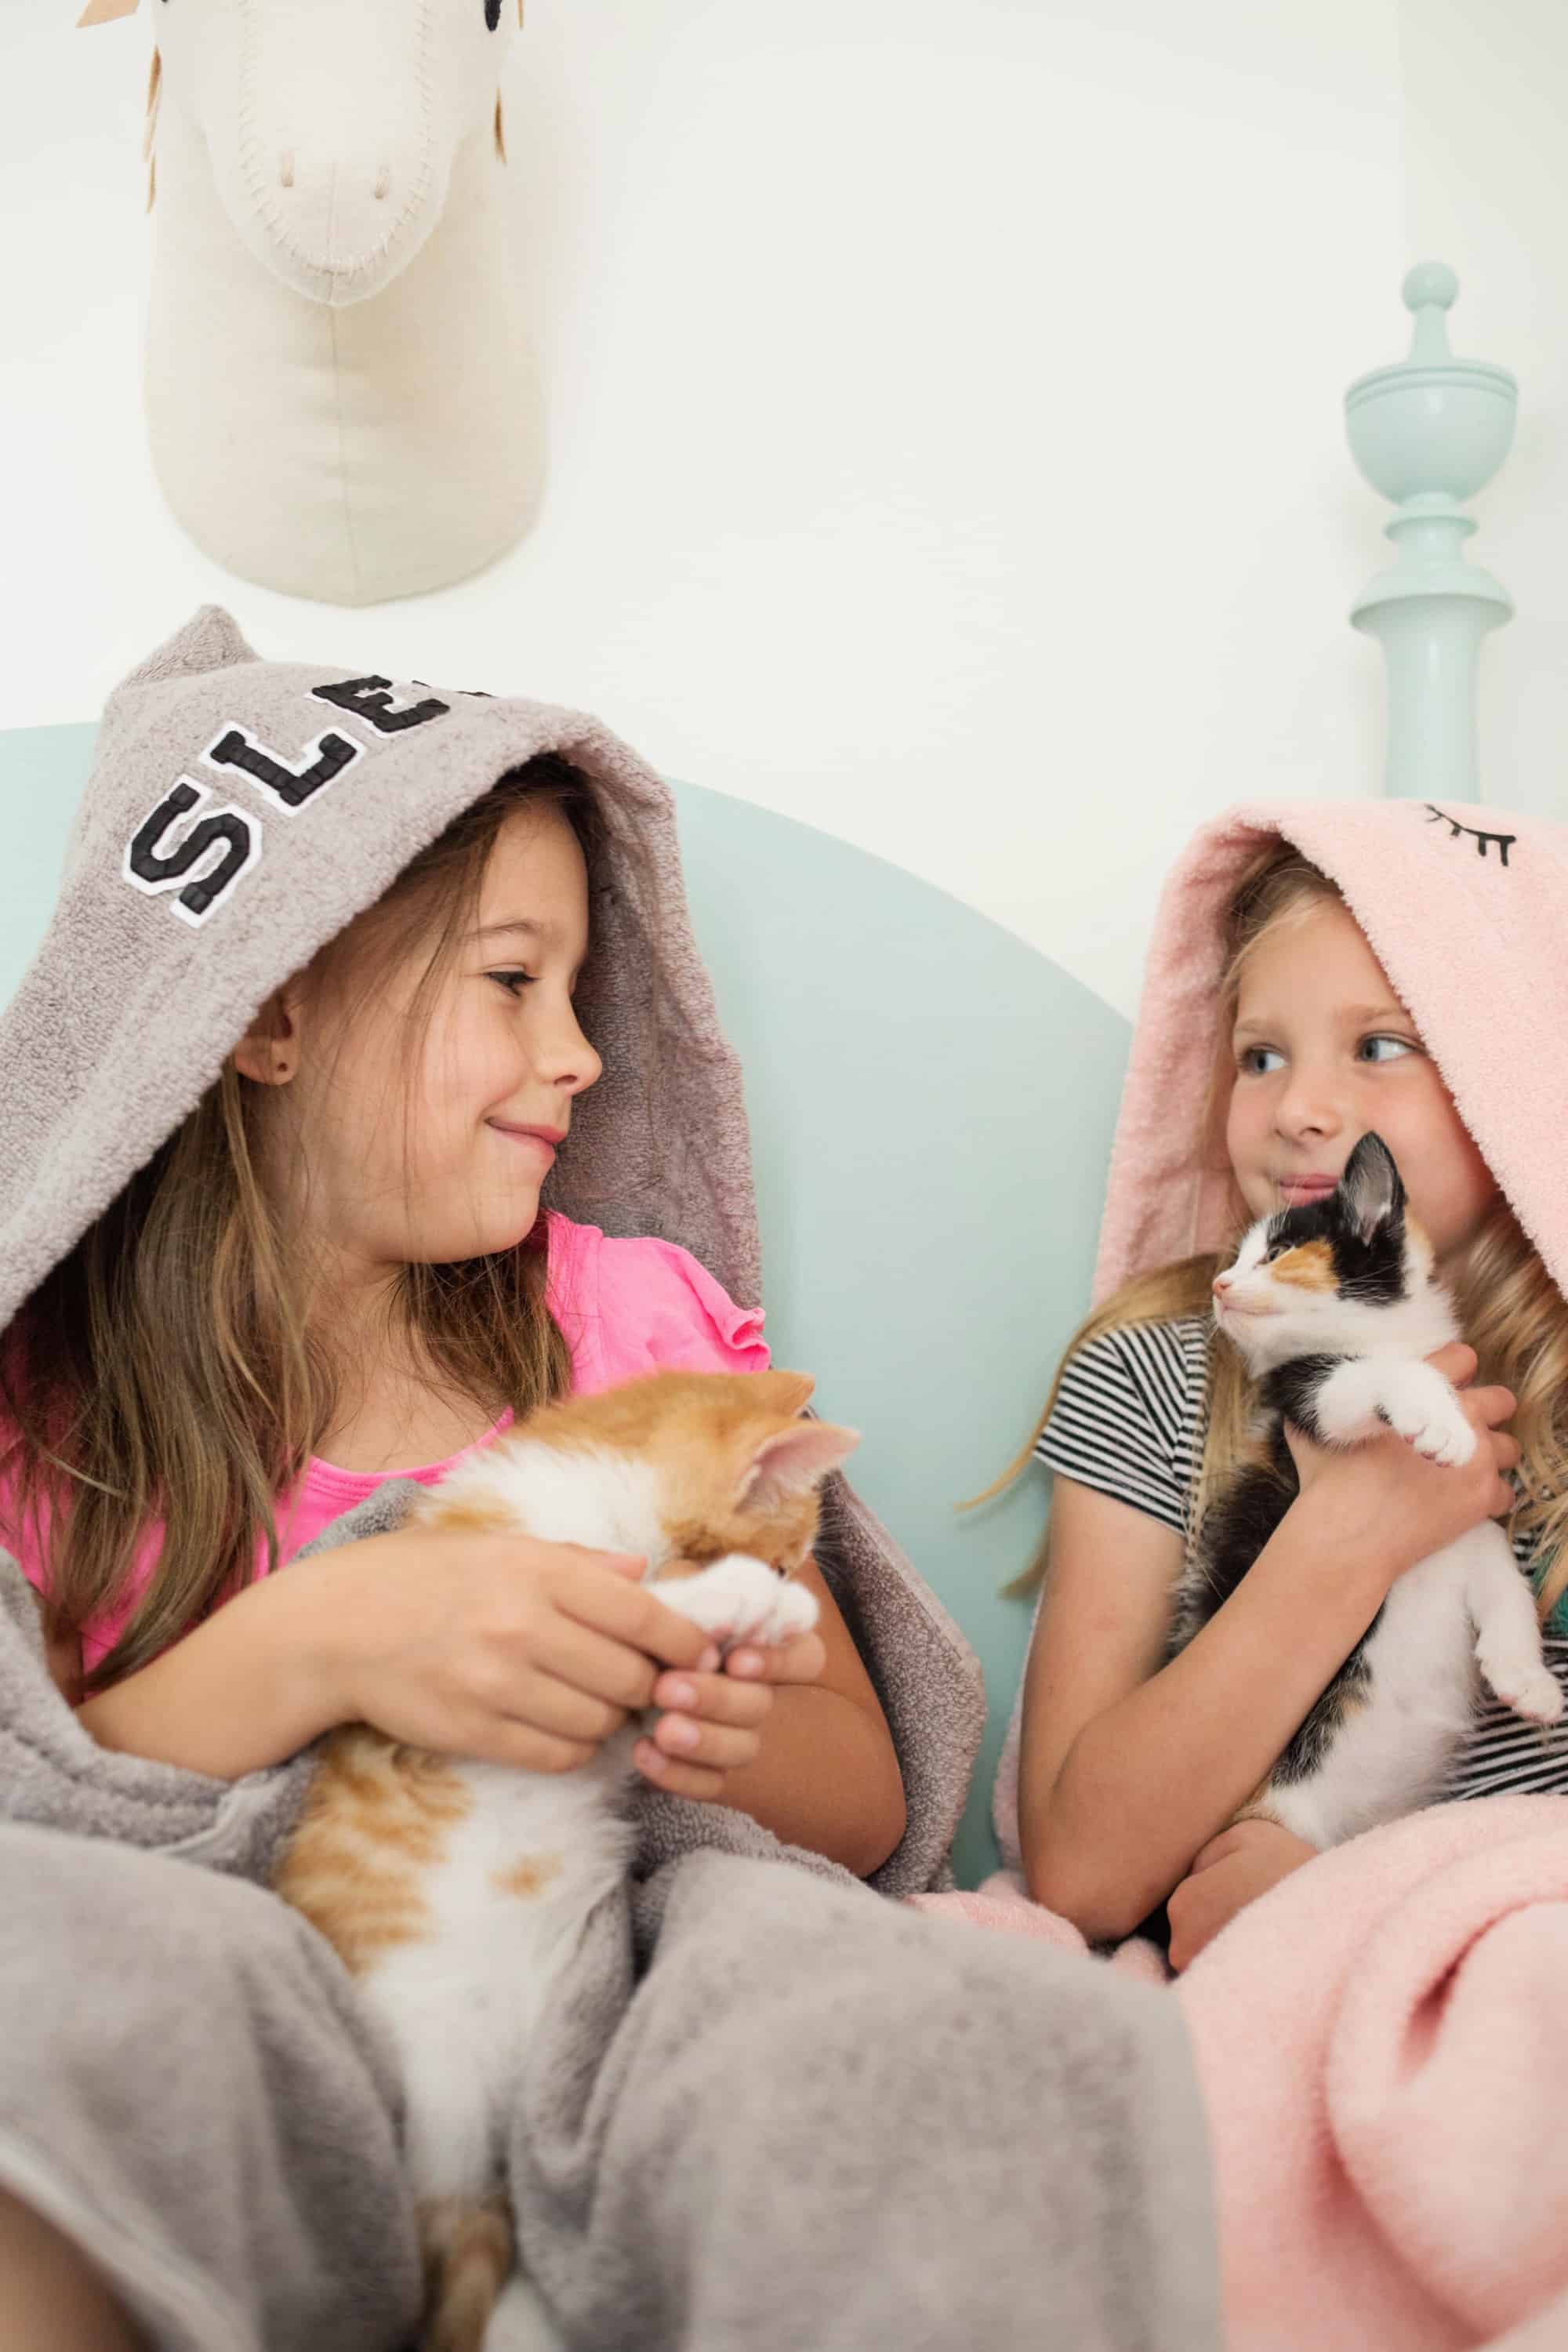
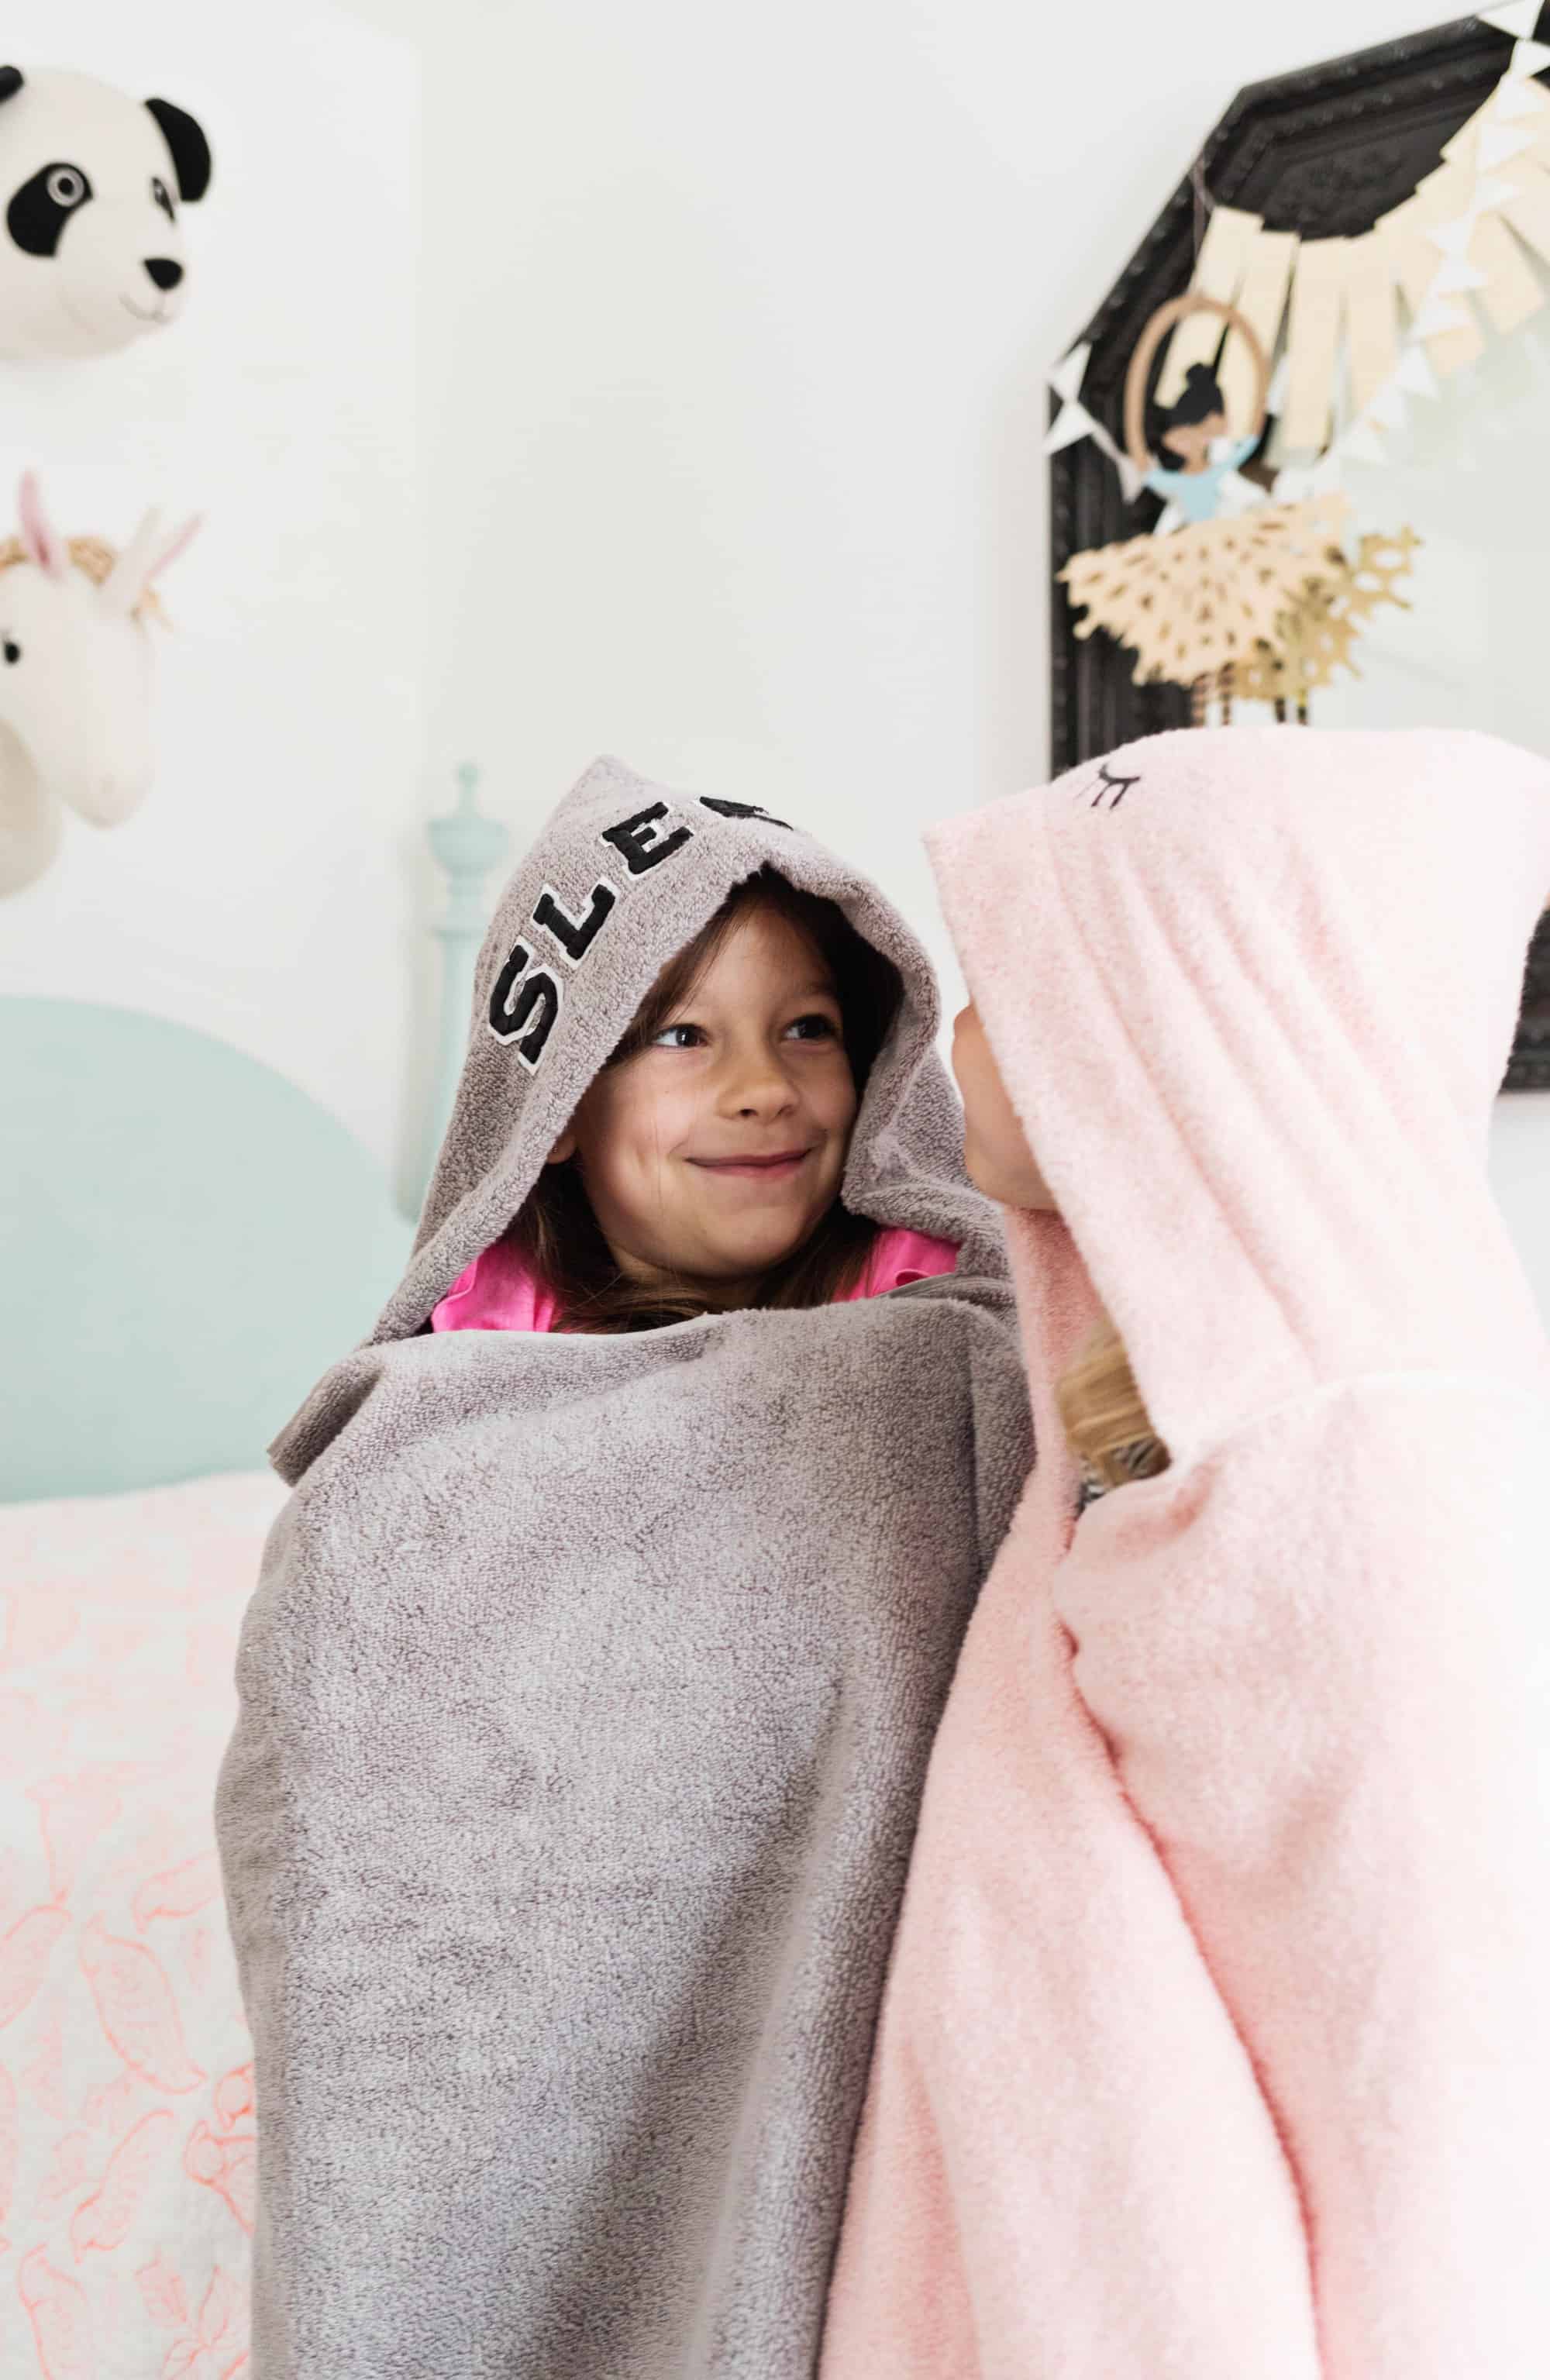 These specific towels are so much more plush than the ones we used to have and ten times cuter! It'd be an adorable birthday souvenir paired with a few favorite books for a niece or nephew. Seriously though, I demand this pink one with the eyelashes in my size! Don't be surprised if you run into me lounging at the puddle this summer in my ain. Ha!
What would you spell out if y'all made your own? –Rachel
Credits//Author: Rachel Denbow. Photography: Rachel Denbow and Janae Hardy. Photos edited with the New A Beautiful Mess actions.
Source: https://abeautifulmess.com/cozy-hooded-bath-towel-diy/
Posted by: jacobsbeasto.blogspot.com
0 Response to "How To Make Animal Hooded Bath Towels"
Post a Comment